도안 목록으로 돌아가기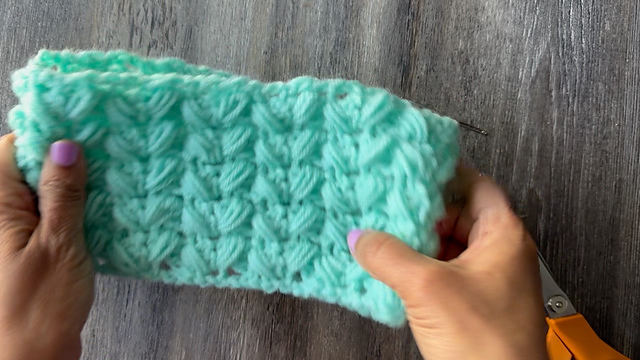 🪄 도안 확인하기
 무료
무료 무료
무료 무료
무료 무료
무료 무료
무료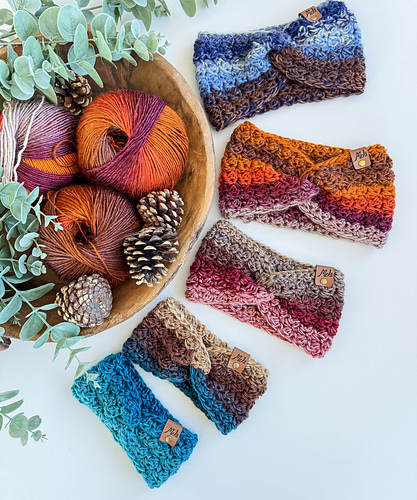

 무료
무료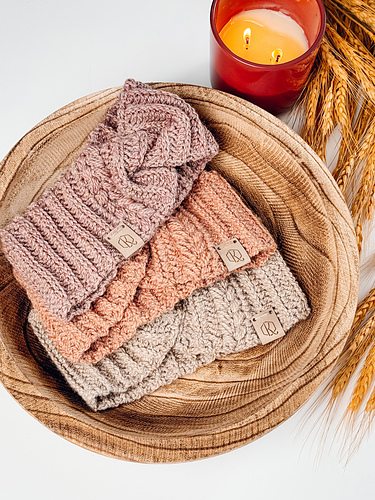 무료
무료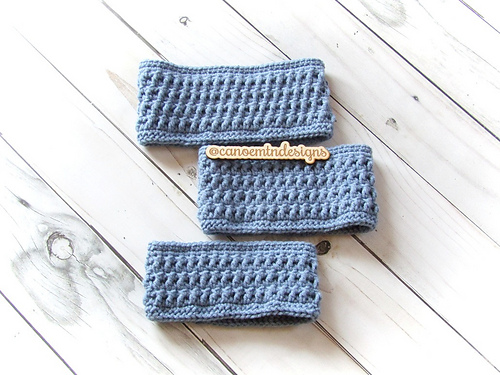
Hat무료 도안
Double crochet and slanted puff stitch earwarmer
디자이너: Crochetsmash
난이도0.0
바늘 크기정보 없음
실 굵기Any gauge - designed for any gauge
(Any gauge - designed for any gauge)
(Any gauge - designed for any gauge)
좋아요3
ADVERTISEMENT
도안 상세 설명 구글번역기로 번역하기
This stylish headband features a "squishy" and stretchy texture created by crossing puff stitches over double crochets. It is worked flat in rows and seamed at the end for a seamless look.
Materials
Yarn: Medium weight (Category 4) acrylic yarn (approx. 100–120 yards)
Hook: 5.0 mm (H-8) crochet hook
Tools: Tapestry needle, scissors, and a measuring tape
Abbreviations (US Terms)
Ch: Chain
St(s): Stitch(es)
DC: Double Crochet
PS (Puff Stitch): Yarn over (YO), insert hook into specified stitch, pull up a loop. (YO, insert hook, pull up a loop) twice more in the same stitch. YO and pull through all 7 loops on the hook.
Sl St: Slip Stitch
Pattern Notes
Stitch Multiple: 3 + 4.
The "Slanted" effect is created by working the puff stitch into a skipped stitch before the double crochets just worked.
The headband is worked to a length approximately 1.5 inches shorter than the head circumference to allow for the stretch of the acrylic yarn.
Pattern Instructions
Foundation Chain: Ch 19 (or any multiple of 3 + 4).
Row 1: 1. DC in the 5th ch from the hook.
2. DC in the next ch.
3. Puff Stitch (PS): YO, insert hook into the 4th ch (the skipped chain immediately before the first DC), and pull up a loop. Repeat two more times in the same chain (7 loops on hook). YO and pull through all loops.
4. *Skip the next ch, DC in the next 2 chs. PS in the skipped ch (crossing over the two DCs).
5. Repeat from * across until one chain remains.
6. DC in the last ch. Turn.
Row 2: 1. Ch 3 (counts as first DC). Skip the first stitch.
2. Skip the next stitch (the top of the puff stitch from the previous row).
3. DC in the next 2 stitches (the tops of the previous row's DCs).
4. PS: YO, insert hook into the skipped stitch (the top of the previous row's puff stitch), and pull up a loop three times. YO and pull through all loops.
5. *Skip the next stitch, DC in the next 2 stitches. PS in the skipped stitch.
6. Repeat from * across until you reach the turning chain.
7. DC in the top of the turning chain. Turn.
Remaining Rows: Repeat Row 2 until the piece reaches your desired length (Head Circumference minus 1.5 inches). For an average adult, this is typically 18–20 inches long.
Finishing
Assembly:
Fold the headband in half so the short ends meet.
Align the stitches of both ends.
Slip stitch (Sl St) through both layers across the row to join the ends.
Fasten off, leaving a small tail.
Weaving in Ends:
Using a tapestry needle, weave in all loose ends on the "wrong side" (the side with the slip stitch seam). Turn the headband right-side out to hide the seam.
* 버튼을 누르면 Ravelry 다운로드 페이지로 이동합니다.
(주의: 디자이너의 설정에 따라 무료 기간이 종료되어 유료로 전환되었을 수 있으니 이동 후 무료 여부를 꼭 확인하세요!)
비슷한 느낌의 도안들
옆으로 밀어서 보기 →무료Wheat Stitch™ Earwarmer
by Briana K Designs
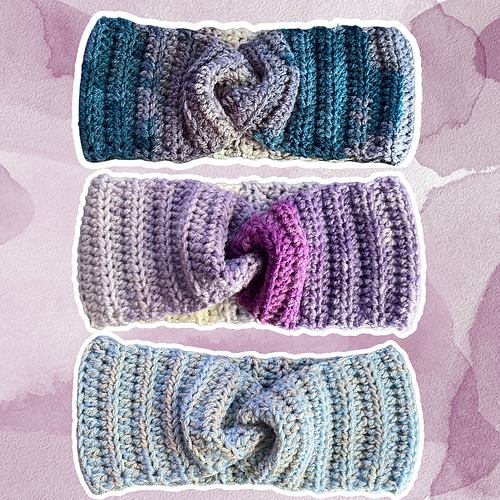
무료Simple Twisted Earwarmer
by Rebecca Langford
무료Double crochet and slanted puff stitch earwarmer
by Crochetsmash
무료Isobel Ear Warmer
by Sunflower Cottage Crochet
무료Twisted Wheat Stitch™ Earwarmer
by Briana K Designs
Chunky Suzette Ear Warmer
by MJ's Off The Hook Designs
Easy Crochet Ear Warmer
by Jennifer Renaud
무료Simple Earwarmer
by Kami Tomczak
무료Autumn Wheat Ear Warmer
by Briana K Designs
Textured Ear Warmer 1
by Canoe Mtn Designs