도안 목록으로 돌아가기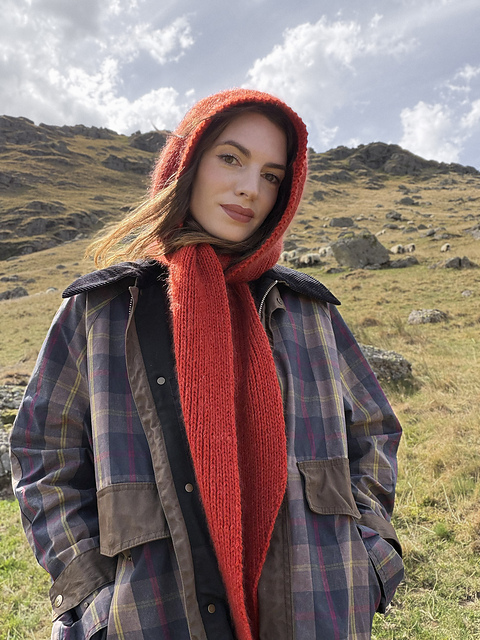
 무료
무료 무료
무료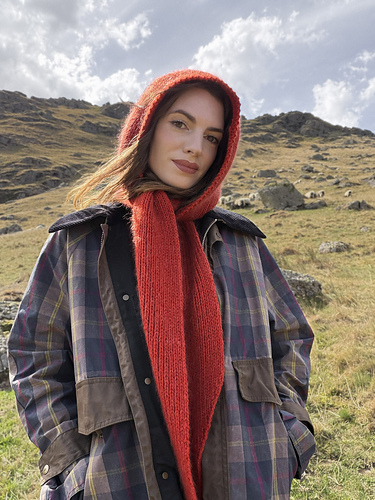
Scarf유료 도안
Briar Hood
디자이너: Renarde Endormie
난이도0.0
바늘 크기
4.5mm
(8호)
실 굵기약간 굵은 실 (10합)
(Worsted (9 wpi))
(Worsted (9 wpi))
좋아요184
ADVERTISEMENT
도안 상세 설명 구글번역기로 번역하기
BRIAR HOOD
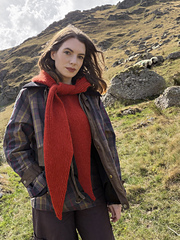
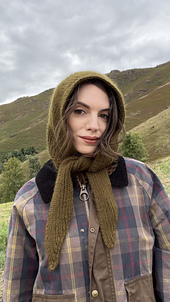
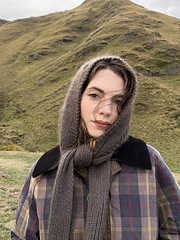
Halfway between a scarf and a hood, Briar Hood wraps around the neck and can be pulled up over the head to create a soft, cosy refuge for cold days and winter walks.
Inspired by the brambles and wild roses that intertwine along woodland paths and, in old tales, grow around forgotten places and sleeping castles, Briar Hood was designed as a soft, enveloping and protective piece for autumn and winter.
The pattern includes two versions. The short version is narrower and lighter, designed to be simply tied around the neck, while the long version is wider and more enveloping and can be wrapped around the neck.
**CONSTRUCTION**
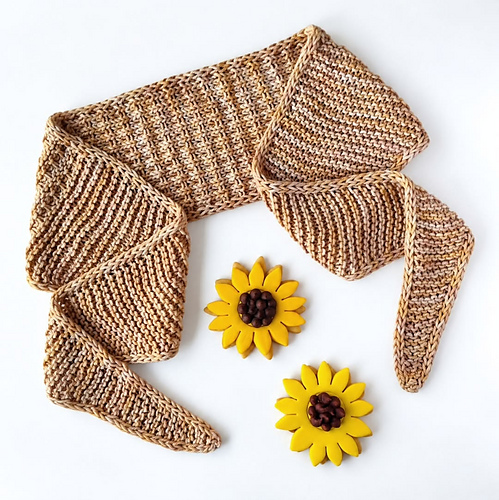
Briar Hood is worked entirely flat in 1×1 ribbing.
The scarf begins at one tapered point, shaped gradually with increases, then continues straight before being shaped into a second symmetrical point. Stitches for the hood are then picked up along the centre of the scarf.
The hood is also worked flat and shaped at the top in three sections before being joined with invisible perpendicular seams. A 1×1 ribbed edging finishes the hood opening. Two edging options are included: a soft, open edging that preserves the natural opening around the face, or a closer-fitting edging for a more enveloping effect.
The scarf length can also be adjusted to suit the way you would like to wear it; the pattern explains how to adapt it while keeping enough length for the hood and ties.
**SIZE & FINISHED MEASUREMENTS**
One size, with two scarf options:
Short version
Total scarf length: approx. 104 cm / 41 in
Scarf width: approx. 7 cm / 2¾ in
Hood width: approx. 46 cm / 18 in
Long version
Total scarf length: approx. 180 cm / 71 in
Scarf width: approx. 14 cm / 5½ in
Hood width: approx. 46 cm / 18 in
**GAUGE**
26 sts × 23 rows = 10 × 10 cm / 4 × 4 in in 1×1 ribbing, using 4.5 mm (US 7) needles, after washing and blocking.
Because 1×1 ribbing is naturally elastic, the pattern includes a dedicated section explaining how to measure and adjust your gauge, including what to do if your stitch gauge or row gauge differs slightly.
**NEEDLES**
4.5 mm (US 7) circular needles with a cable at least 80 cm / 32 in long, for the scarf and hood
4 mm (US 6) circular needles with a cable at least 80 cm / 32 in long, optional for a firmer, closer-fitting hood edging
Use a different needle size if necessary to obtain gauge.
**NOTIONS**
2 stitch markers
1 tapestry needle for seaming and weaving in ends
1 tape measure
**YARN**
The original samples are worked with two strands held together throughout:
Knitting for Olive Heavy Merino 100% merino wool — 125 m / 50 g
held together with Knitting for Olive Soft Silk Mohair 70% mohair, 30% silk — 225 m / 25 g
This combination creates a warm, soft and slightly fluffy fabric while maintaining beautiful stitch definition in the ribbing.
**YARN REQUIREMENTS**
Short version: approx. 300 m / 328 yd of each yarn
3 balls Heavy Merino + 2 balls Soft Silk Mohair
Long version: approx. 550 m / 601 yd of each yarn
5 balls Heavy Merino + 3 balls Soft Silk Mohair
The hood and its edging require approximately 150 m / 164 yd of each yarn, regardless of the version. This makes it possible to reserve that amount for the hood and use the remaining yarn to adjust the scarf length if desired. Quantities may vary depending on gauge and knitting style.
**YARN SUBSTITUTIONS**
You can substitute the original yarns with:
1 strand of DK or worsted-weight yarn + 1 strand of lace-weight mohair/silk
1 strand of light aran-weight yarn held alone for a less fluffy finish
Possible combinations include:
De Rerum Natura Pénélope + Bérénice
Biches & Bûches Le Lambswool + Le Petit Silk & Mohair
Sandnes Garn Double Sunday + Tynn Silk Mohair
Whatever yarn you choose, make sure you can achieve the recommended gauge.
**TECHNIQUES**
The pattern uses the following techniques:
working flat in 1×1 ribbing
Long-Tail Cast-on
yarnover increases
decreases while maintaining the rib pattern
slipped-stitch selvedges
standard bind-off in pattern
picking up stitches
placing stitches on hold
shaping the hood in sections
invisible perpendicular seaming
picking up and working the hood edging
The pattern includes technical diagrams to guide you through the construction and hood shaping, as well as detailed instructions for the assembly.
A dedicated Techniques section also includes video tutorial links and QR codes for the Long-Tail Cast-on, yarnover increase, standard bind-off, picking up stitches, placing stitches on hold and the invisible perpendicular seam.
BRIAR HOOD
À mi-chemin entre l’écharpe et la capuche, Briar Hood s’enroule autour du cou et se relève sur la tête pour former un refuge doux et enveloppant, pensé pour accompagner les journées froides et les promenades d’hiver.
Inspirée des ronces et des rosiers sauvages qui s’entrelacent le long des chemins et qui, dans les contes anciens, envahissent les lieux oubliés et entourent les châteaux endormis, Briar Hood a été imaginée comme une pièce douce, enveloppante et protectrice pour l’automne et l’hiver.
Le patron propose deux versions : une version courte, plus étroite et légère, pensée pour être simplement nouée autour du cou, et une version longue, plus large et enveloppante, pouvant être enroulée autour du cou.
**CONSTRUCTION**
Briar Hood est entièrement tricotée à plat en côtes 1/1.
L’écharpe débute par une pointe façonnée progressivement à l’aide d’augmentations, se poursuit en ligne droite, puis se termine par une seconde pointe symétrique. Les mailles de la capuche sont ensuite relevées au centre de l’écharpe.
La capuche est elle aussi tricotée à plat. Son sommet est façonné en trois parties avant d’être assemblé par des coutures invisibles perpendiculaires.
Une bordure en côtes 1/1 vient enfin terminer l’ouverture de la capuche. Deux options sont proposées : une bordure souple et ouverte, qui préserve une ouverture plus naturelle autour du visage, ou une bordure plus resserrée, pour un effet plus enveloppant.
La longueur de l’écharpe peut également être adaptée selon la manière dont vous souhaitez la porter ; le patron donne les indications nécessaires pour modifier cette longueur tout en conservant suffisamment de fil pour la capuche.
**TAILLE ET DIMENSIONS FINALES**
Taille unique, avec deux versions d’écharpe :
Version courte
Longueur totale : environ 104 cm
Largeur de l’écharpe : environ 7 cm
Largeur de la capuche : environ 46 cm
Version longue
Longueur totale : environ 180 cm
Largeur de l’écharpe : environ 14 cm
Largeur de la capuche : environ 46 cm
**ÉCHANTILLON**
26 m. × 23 rangs = 10 × 10 cm en côtes 1/1 avec les aiguilles 4,5 mm, après lavage et blocage.
Les côtes 1/1 étant naturellement élastiques, le patron comprend également une section dédiée pour comprendre et ajuster son échantillon, notamment lorsque le nombre de mailles ou de rangs diffère légèrement.
**AIGUILLES**
Aiguilles circulaires 4,5 mm (US 7) avec un câble de 80 cm, pour l’écharpe et la capuche
Aiguilles circulaires 4 mm (US 6) avec un câble de 80 cm, optionnelles pour obtenir une bordure de capuche plus ferme et plus resserrée
Utilisez si nécessaire une autre taille d’aiguilles pour obtenir l’échantillon indiqué.
**MATÉRIEL**
2 marqueurs de mailles
1 aiguille à laine pour les coutures et rentrer les fils
1 mètre ruban
**FILS**
Les modèles originaux sont tricotés avec deux fils tenus ensemble tout au long de l’ouvrage :
Knitting for Olive Heavy Merino 100 % mérinos — 125 m / 50 g
tenu avec Knitting for Olive Soft Silk Mohair 70 % mohair, 30 % soie — 225 m / 25 g
Cette association offre une maille chaude, souple et légèrement duveteuse, tout en conservant une belle définition des côtes.
**QUANTITÉS REQUISES**
Version courte : environ 300 m de chaque fil
3 pelotes de Heavy Merino + 2 pelotes de Soft Silk Mohair
Version longue : environ 550 m de chaque fil
5 pelotes de Heavy Merino + 3 pelotes de Soft Silk Mohair
La capuche et sa bordure nécessitent environ 150 m de chaque fil, quelle que soit la version. Vous pouvez donc réserver cette quantité pour la capuche et utiliser le fil restant pour adapter la longueur de l’écharpe si vous le souhaitez. Les quantités peuvent varier selon votre échantillon et votre manière de tricoter.
**FILS DE SUBSTITUTION**
Vous pouvez utiliser :
1 fil DK ou worsted + 1 fil lace en mohair et soie
1 fil aran léger utilisé seul, pour un rendu moins duveteux
Quelques associations possibles :
De Rerum Natura Pénélope + Bérénice
Biches & Bûches Le Lambswool + Le Petit Silk & Mohair
Sandnes Garn Double Sunday + Tynn Silk Mohair
Veillez avant tout à obtenir l’échantillon indiqué.
**TECHNIQUES UTILISÉES**
Le patron fait appel aux techniques suivantes :
tricot à plat en côtes 1/1
montage Long Tail Cast-on
augmentations par jetés
diminutions en maintenant le motif des côtes
lisières glissées
rabat classique en suivant le motif
relevage de mailles
mise en attente de mailles
façonnage de la capuche en plusieurs parties
couture invisible perpendiculaire
relevage et réalisation de la bordure de capuche
Le patron contient des schémas techniques pour accompagner les différentes étapes de construction et le façonnage de la capuche, ainsi que des explications détaillées pour l’assemblage.
Une section Techniques utilisées rassemble également des liens et QR codes vers des tutoriels vidéo pour le montage Long Tail Cast-on, l’augmentation par jeté, le rabat classique, le relevage de mailles, la mise en attente des mailles et la couture invisible perpendiculaire.
* 이 도안은 유료이므로 Ravelry에서 별도 구매가 필요합니다.
비슷한 느낌의 도안들
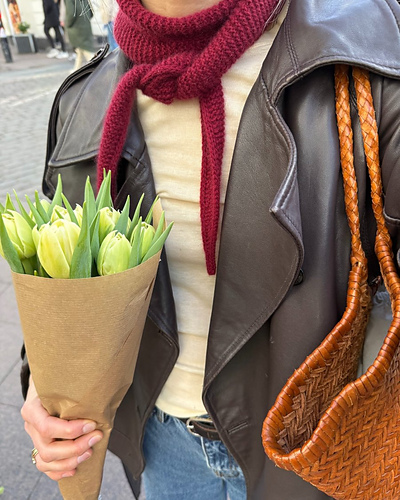
옆으로 밀어서 보기 →Sophie Scarf
by PetiteKnit
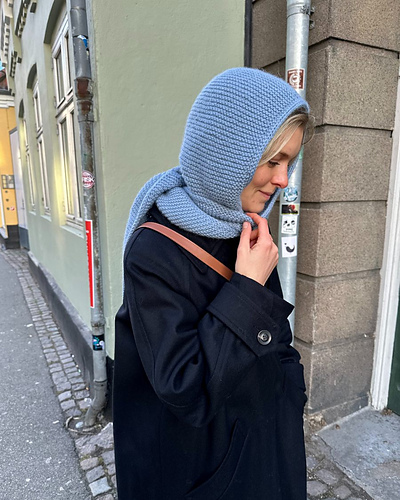
Sophie Hood
by PetiteKnit
무료Posy Scarf
by Jessica Gore
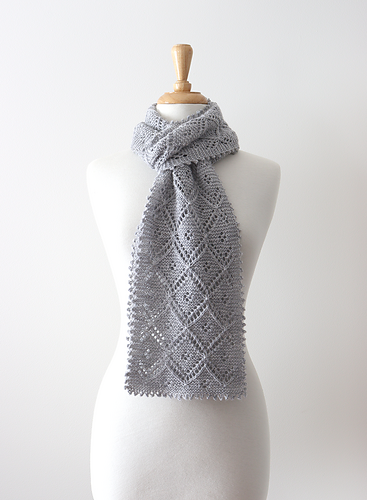
무료Crystalline Air Scarf
by Celeste Knitwear
Briar Hood
by Renarde Endormie
Forest Fairy Scarf
by Lisa Hannes
Ripples and Rain
by Jennifer Shiels Toland
SunZhar
by Olga Beckmann
Dora Scarf
by Kristel Nieves
Wildrose Shawl
by Kasia Krzyzyk