도안 목록으로 돌아가기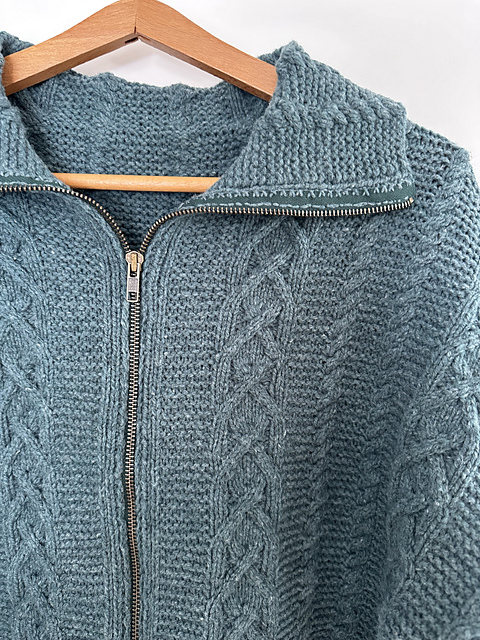
 무료
무료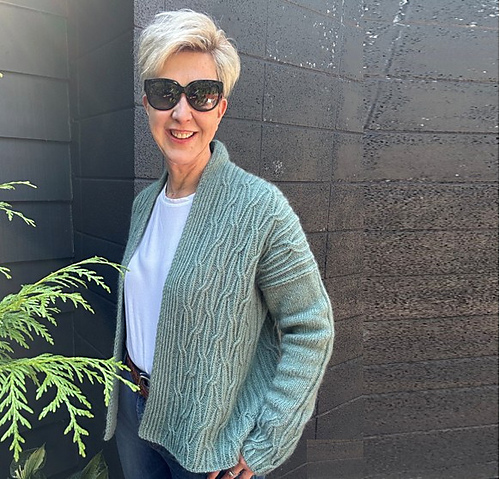 무료
무료
 무료
무료
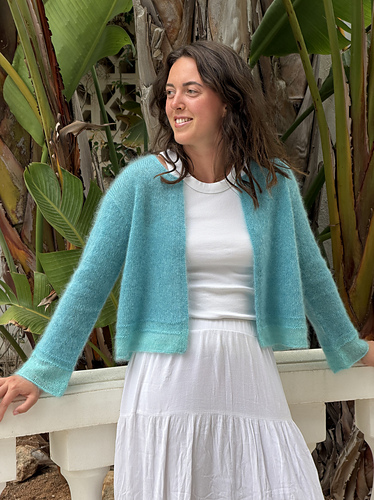

Cardigan유료 도안
Stormgade
디자이너: Anke Telschow
난이도0.0
바늘 크기
4mm
실 굵기약간 굵은 실 (10합)
(Worsted (9 wpi))
(Worsted (9 wpi))
좋아요66
ADVERTISEMENT
도안 상세 설명 구글번역기로 번역하기
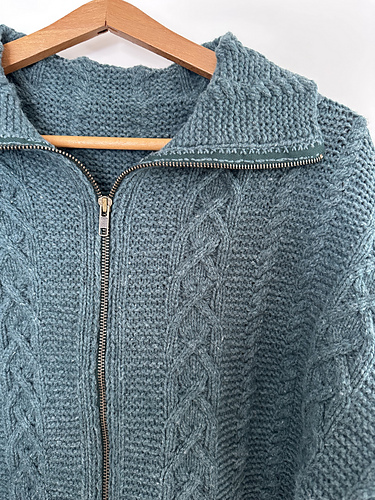
“Stormgade” is the name of a street in Esbjerg on the way from the harbor and Fanø ferry terminal up to the shopping area, where I have seen a sweater which has been the inspiration for this pattern.
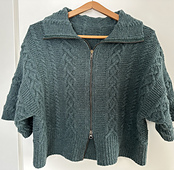
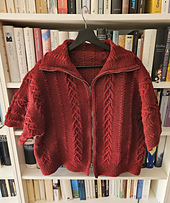
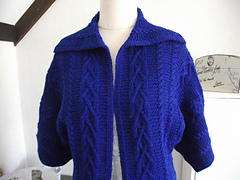
This short, boxy cardigan features two types of cables, interrupted by Garter stitch panels, and a big collar. It is closed by a 2-way zipper (but if this scares you, add buttonholes while you knit, or afterthought buttonholes).
The cardigan should be worn with 5 to 10cm ease at bust.
**Needles, gauge & yarn**
Main needle size is **4,0mm**. (3,5mm for ribbing at hem; 3,0mm for neck separation rows.)
Gauge: **20 sts x 30 rows** in Stockinette after blocking.
Approx. 1000/ 1120/ 1200/ 1320/ 1400 m of a thick DK or a light Worsted weight yarn needed.
For my sample, I have used **De Rerum Gilliatt** (100% wool; 250m/ 100g) in color “Iroise”.
**Overview:**
These are the steps to work the zipped cardigan, **bottom-up** and **seamless**:
* **Step 1: Lower body: ** Start with ribbed hem. Then set up the panels with the different stitches (cable patterns, Garter) and work in pattern to a few cm before underarm. Continue with underarm increases at the sidelines.
* **Step 2: Upper body and sleeves: ** Separate into 3 pieces (right front, back, left front) and work them separately. Gradually add sleeve stitches at the outer edges, using a provisional cast-on for the fronts and working short rows to shape the underarm seam of the (half) sleeves. Continue in pattern, with increases between body and sleeves to shape the slanted shoulder. (For the back, you will later unravel the provisional cast-on and use the live stitches for the underarm and shoulder/ sleeve shaping.)
For the front neck, put some stitches on hold and then gradually decrease more stitches, while shaping a slanted shoulder (and sleeves) with short rows. Work back accordingly, up to back neck. Join back and front at the shoulders by working a 3-needle-bindoff.
* **Step 3: Collar:** Set up collar: Continue front neck ribbings, pick up stitches from both front neck edges and continue back neck stitches. Work collar in similar pattern as for body, but from WS, so the front side of the cables will be visible when the collar lies in place.
* **Finishing: ** Weave in ends. Sew zipper halves onto front ribbings including collar.
* 이 도안은 유료이므로 Ravelry에서 별도 구매가 필요합니다.
비슷한 느낌의 도안들
옆으로 밀어서 보기 →Black Forest Cardigan
by Cheryl Mokhtari
Stormgade
by Anke Telschow
Gypaete
by Folie 0rdinaire
무료Easy Street Cardigan
by Rachel Alford
무료Beach Grass Cardigan
by Marci Marra
Cozy Soft Cardigan
by LiliPlet77
무료Winter Moon Cardigan
by Andi Javori
COCO Cardigan
by MØCARA
Gilet Écume
by escondidaKnit
Olga Jacket
by PetiteKnit