도안 목록으로 돌아가기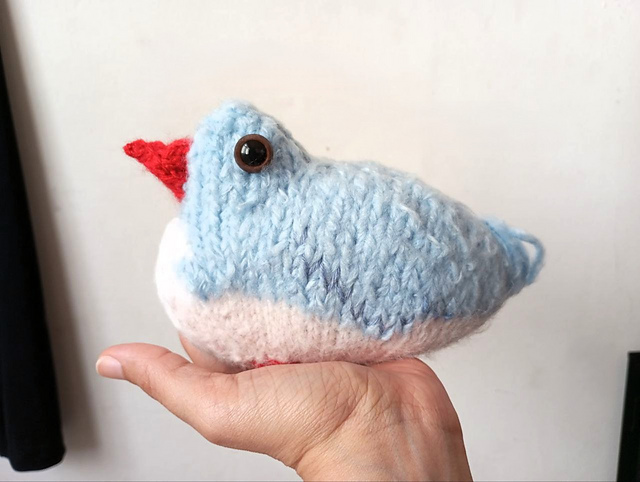


 무료
무료
인형/소품유료 도안
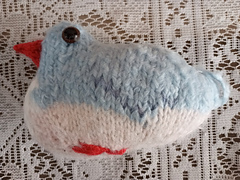
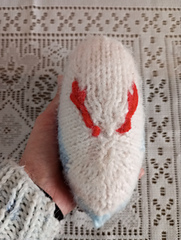
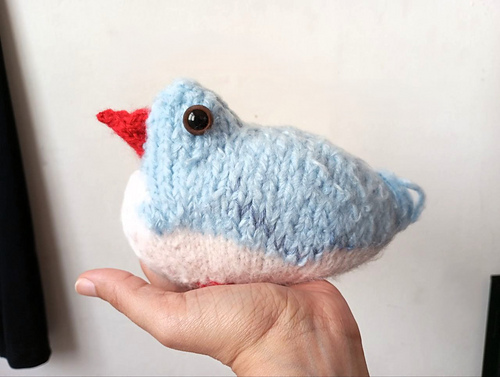
I Saw A Blue Bird
디자이너: Erika Batista
난이도0.0
바늘 크기
5mm
실 굵기매우 굵은 실 (소품용)
(Bulky (7 wpi))
(Bulky (7 wpi))
좋아요7
ADVERTISEMENT
도안 상세 설명 구글번역기로 번역하기
*Loosely inspired by the vintage pattern [Le Caneton][1],
published in the magazine Tricots de Paris, Nº 1, May 1949*
**Skill Level:** Intermediate
**Gauge:** the instructions work for any gauge. The sample gauge is 18 sts in 10 cm in the white (CC) and 13 sts in 10 cm in the blue (MC) part.
**Size:** custom.
**Measurements:** depends on your yarn and gauge.
Sample measures:
Length from front to back: 15 cm
Height from the top of head: 11 cm
Height from the top of the back: 9 cm
**Materials**: I’ve made this project to use up stash yarn. Below are the quantities and descriptors of the yarns I used, if you want to replicate my bird exactly. Feel free to use what you have in stash, knowing that it will affect the size of your bird.
* Main Color (MC – Blue): 20g (approx.
32 m) of Alaska yarn by Pingouin
(Super Bulky, 84% acrylic, 16% nylon,
160m/100g), in the colorway 8592
Caribe.
* Contrast Color (CC – White):
10g of Marfim by Círculo (Worsted
weight, 71% acrylic, 18% nylon and 11%
polyester, 400m/200g) in the colorway
9010 Carmesim (I’ve used the lighter
end of the skein).
* 2g of orange or
yellow yarn for the beak and the
embroidered legs.
* 2g of yarn in a
lighter or deeper shade of your MC for
embroidery on the wings.
* 5 mm needles. Most of the bird is worked flat, but you’ll be working in the round for the beak, so you’ll need circular needles or DPNs for that.
* Up to three bobbins for the Intarsia (optional).
* Locking stitch markers (optional).
* A piece of fabric
at least 25 cm x 25 cm for lining.
* Sewing thread, preferably matching the
color of your lining.
* Sewing needle.
* Tapestry needle.
* Scissors.
* One pair of
safety eyes.
* Scrap yarn or polyfill to use as a filler.
* Locking stitch markers.
***
*Inspirado na receita vintage [Le Caneton][2],
publicada na revista Tricots de Paris, Nº 1, de maio de 1949*
**Dificuldade:** Intermediária
**Tensão:** as instruções funcionam com qualquer tensão. A tensão do modelo é 18 pts em 10 cm na parte branca (CC) e 13 pts em 10 cm na azul (CP).
**Tamanho:** personalizado.
**Medidas:** depende do seu fio e tensão.
O modelo mede:
Comprimento do bico ao rabo: 15 cm
Altura do topo da cabeça: 11 cm
Altura do topo das costas: 9 cm
**Materiais:** criei este projeto para usar fios do meu estoque. Abaixo estão as quantidades e descrições dos fios que usei, se você quiser replicar o meu pássaro com exatidão. Fique à vontade para usar o que você tiver no estoque, sabendo que isso afetará o tamanho do seu pássaro.
* Cor Principal (CP — Azul): 20 g (aprox. 32 m) do fio Alaska da Pingouin (Super Bulky, 84% acrílico, 16% nylon, 160 m/ 100 g), na cor 8592 Caribe.
* Cor Contrastante (CC — Branco): 10 g de Marfim da Círculo (Worsted, 71% acrílico, 18% nylon e 11% poliéster, 400 m/ 200 g) na cor 9010 Carmesim (usei a ponta mais
clara do novelo).
* 2 g de fio laranja ou amarelo para o bico e para as patas.
* 2 g de fio em um tom mais claro ou mais escuro da sua CP para o bordado nas asas.
* Agulhas 5 mm. A maior parte do pássaro é trabalhado reto, mas você trabalhará no circular para o bico, então precisará de agulhas circulares ou agulhas de pontas duplas para isso.
* 3 bobinas para a seção em intarsia Intarsia (optional).
* Marcadores de ponto estilo cadeado (optional).
* Um pedaço de tecido de pelo menos 25 cm x 25 cm para o forro.
* Linha para costura, preferencialmente da mesma
cor do seu forro.
* Agulha de costura.
* Agulha de tapeçaria.
* Tesoura.
* Um par de olhos com trava para amigurumi.
* Pontinhas de fio ou enchimento para rechear.
[1]: https://www.ravelry.com/patterns/library/le-caneton
[2]: https://www.ravelry.com/patterns/library/le-caneton
* 이 도안은 유료이므로 Ravelry에서 별도 구매가 필요합니다.
비슷한 느낌의 도안들
옆으로 밀어서 보기 →Emotional Support Chicken®
by Annette Corsino
Mistletoe Moose
by Pat Alinejad
Emotional Support Chicken® Little Chickie
by Annette Corsino
Gordon and Max - The Plumponates
by Clare Hutchinson
I Saw A Blue Bird
by Erika Batista
Emotional Support Chicken Jr.®
by Annette Corsino
Frog
by Claire Garland
Frog and Toad
by Claire Garland
무료tiny pocket chicken
by Dominika Kałwak
Silly Goose
by Alexandra Tavel