도안 목록으로 돌아가기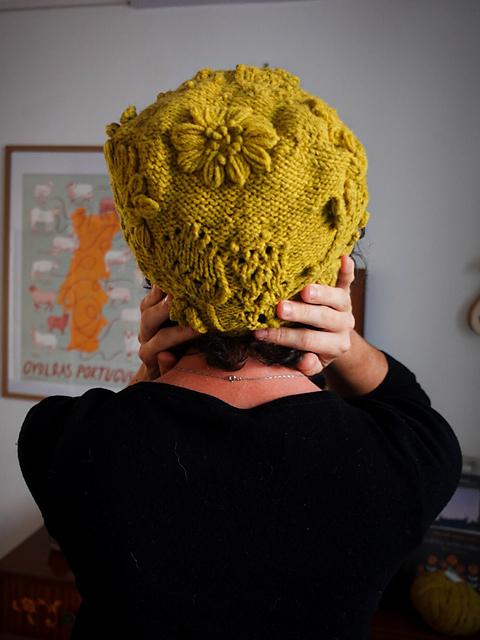
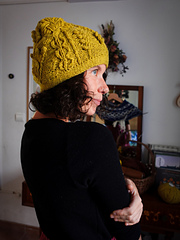
Hat유료 도안
Kytice Hat
디자이너: Klára Pushin
난이도0.0
바늘 크기
5mm
실 굵기중간 실 (6~8합)
(DK (11 wpi))
(DK (11 wpi))
좋아요35
ADVERTISEMENT
도안 상세 설명 구글번역기로 번역하기
***If you buy this pattern, you will get the Kytice Vest pattern at a 50% discount.***
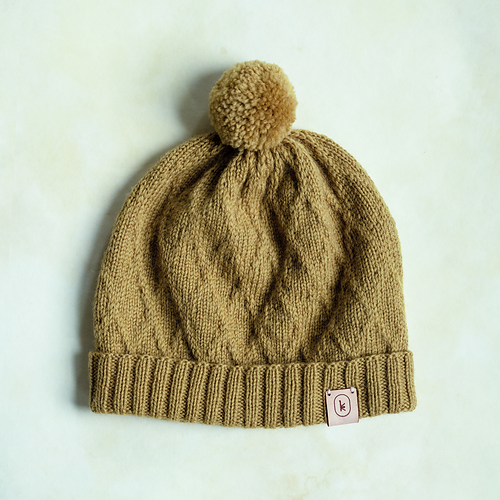
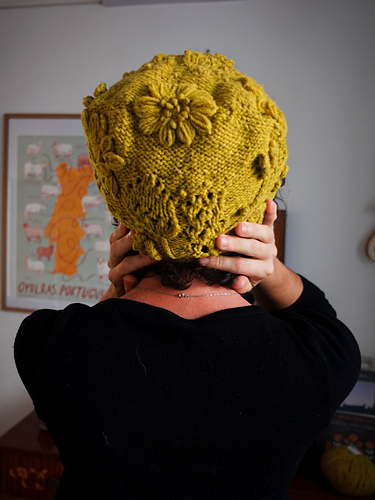
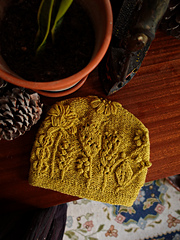
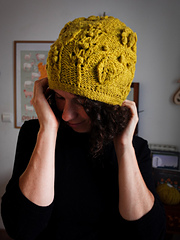
**Kytice Hat** is a simple beanie full of bobbles, cables, yarn overs, and a little embroidery that turns it into a wearable piece of art.
It was created as a solution to the fear of knitters who love the Kytice Vest, the original Kytice design, but feel a little intimidated by it.
Thanks to this little beanie, you can practise the pattern first and then have no doubts that you can recreate it on a vest or a sweater. The patterns are not completely identical, but while knitting the hat, you’ll practise all the crucial elements of the original Kytice pattern.
SIZES (See the schematic in the image gallery.)
1 (2, 3)
EASE
0–5 cm / 0–2” of negative ease recommended
*The hat shown is a size 1 and the model's head circumference is 53 cm / 21”.*
YARN
You need 1 (1, 1) skeins skeins of Mota by Wooldreamers (230 m / 252 yds / 100 g, 100% local Spanish wool); or approx. 125 (145, 165) m / 140 (160, 180) yds of a similar yarn for the hat and approx. 5 g / 12 m / 15 yds for the embroidery part.
*The sample is knitted with Mota from Wooldreamers in the colourway 746G.*
*Please be aware that adjusting the length of the garment or the needle size you need to achieve the stated gauge will also affect the amount of yarn needed to finish the project.*
NEEDLES
A: 5 mm / 8 US circular needles or DPNs
B: 4.5 mm / 7 US circular needles or DPNs
*Needle A is used for the main fabric and double-knit brim, and Needle B for the ribbed brim. Always use the needle sizes needed to achieve the required gauge.*
GAUGE
17 sts & 27 rows = 10 cm / 4" on needle A, in stockinette stitch worked both flat & in the round after washing and blocking
NOTIONS
* blocking tools
* cable needle (if using)
* another needle for Three-Needle Bind-Off
* pin
* stitch markers
* tapestry needle
ABOUT THE CONSTRUCTION
The hat is worked top-down and begins with a Winding Cast-On for a seamless start. Increase rounds are then worked in stockinette on the wrong side to reach the finished hat circumference. The work is then turned to the right side, revealing the reverse stockinette fabric, and the Kytice chart is worked.
The hat is finished with either a neat double-knit brim or classic 1×1 twisted ribbing, depending on the knitter’s preference. The final step is to embroider the petals and add the French knots.
* 이 도안은 유료이므로 Ravelry에서 별도 구매가 필요합니다.