도안 목록으로 돌아가기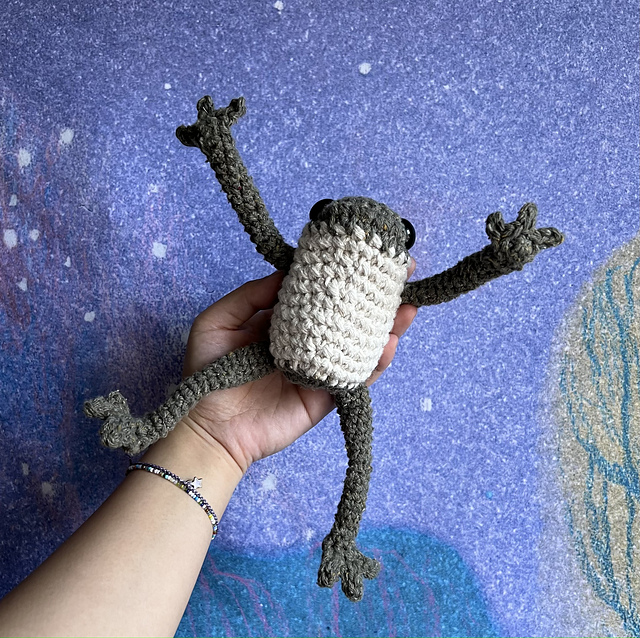

 🪄 도안 확인하기
 무료
무료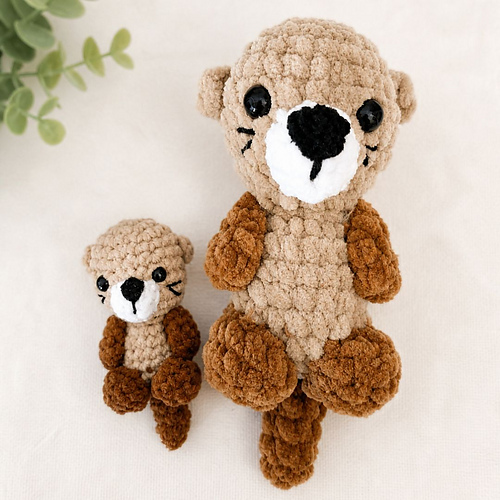 무료
무료 무료
무료
 무료
무료

 무료
무료
인형/소품무료 도안
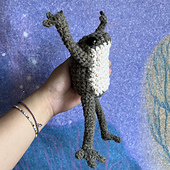
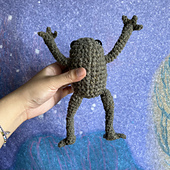
Poseable Frog
디자이너: Margaret Sy
난이도0.0
바늘 크기
4mm
(7/0호)
실 굵기매우 굵은 실 (소품용)
(Bulky (7 wpi))
(Bulky (7 wpi))
좋아요42
ADVERTISEMENT
도안 상세 설명 구글번역기로 번역하기
# Poseable Frog Crochet Pattern
Crochet an amigurumi frog friend and make it poseable by adding wire!
The completed frog is about 7.5” tall, but this can vary depending on your tension or if you substitute materials. Note that the frog is poseable but does not easily stand unsupported.
This pattern was originally written for the amigurumi class at the UC Berkeley Art Studio. Thank you Alexa, Erika, Karen, Shanayah, and Thelo for your feedback!
## Gauge
**Ignore the "1 repeat in 2 inches" gauge in the listing. Ravelry does not support partial repeats and only allows putting in 1", 2", or 4". My circle measures 4.5 cm or a smidge over 1.75" in diameter.**
For the swatch, hold the yarn SINGLE and use a 4.0 mm hook, and with yu/yo sc instead of regular sc.
See [this post from Ollie+Holly Crochet][1] for details if this is your first time doing yu/yo ("yarn under / yarn over") sc.
To make your swatch, crochet a circle in continuous rounds with the following pattern:
Round 1 (6 stitches total in the round) – 6 sc into magic ring.
Round 2 (12) – 6 inc.
Round 3 (18) – (1 sc, 1 inc)\*6.
Round 4 (24) – (1 inc, 2 sc)\*6.
It is totally okay if your gauge does not match this exactly, your frog will just come out slightly bigger or smaller than the one pictured, and you may end up using a different amount of yarn.
## Techniques Used
* Magic Ring (double looped version)
* Working in rounds (joined and continuous)
* Stranded colorwork
* Adding a wire “skeleton”.
## Difficulty Level
I would generally classify this as an intermediate amigurumi pattern, but it could be done by a motivated beginner.
This is a written pattern with reference photos and limited video support for certain techniques, but there is no complete step-by-step video tutorial.
* Instructions for basic stitches (ch, slst, sc) and how to work into the front loops only or back loops only are not included. This is not intended as a standalone learn-to-crochet project.
* If you have never made amigurumi (crochet stuffed toys) before, I recommend completing a basic sphere before doing this project. ([Video tutorial for amigurumi ball][2] from Ollie+Holly Crochet)
* Detailed written instructions are included for how to do an invisible decrease and work the color changes.
* Step by step photos are included for crocheting the hands.
* Video support (on YouTube) is linked for making a double looped Magic Ring and making a loop in wire.
## Materials
* **Weight #4 (worsted) or #3 (DK) yarn** – I used about 72 yd (33g) for the Main Color and about 29 yd (13g) for the Contrast Color in Berroco Remix 3968 Artichoke and 3901 Birch. If you want a yarn with clearer stitch definition, try Queensland Coastal Cotton. Both of these yarns are labeled weight #4 but IMO they’re closer to weight #3.
* **5.5 mm AND 4.0 mm crochet hooks** – The body is worked with a 5.5 mm hook and the yarn held double. The limbs are worked with the 4.0 mm hook and the yarn held single.
* Large tapestry needle
* Poly-fil stuffing (or similar)
* 4 locking stitch markers
* Scissors
* 15 mm safety eyes or similar size beads
* 22 Gauge floral wire (or similar)
* Round nose pliers (optional)
* Wire cutter (do NOT use your sewing/yarn scissors for cutting wire)
[1]: https://www.ollieholly.com/blog/2024/09/25/best-single-crochet-for-amigurumi-explained-every-yarn-over-yo-yarn-under-yu-combination-for-making-single-crochet
[2]: https://www.youtube.com/watch?v=ushHnIxLdYw
* 버튼을 누르면 Ravelry 다운로드 페이지로 이동합니다.
(주의: 디자이너의 설정에 따라 무료 기간이 종료되어 유료로 전환되었을 수 있으니 이동 후 무료 여부를 꼭 확인하세요!)
비슷한 느낌의 도안들
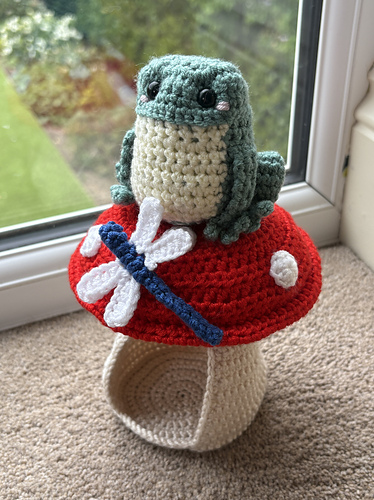
옆으로 밀어서 보기 →Frogshroom
by Laura Sutcliffe
무료Poseable Frog
by Margaret Sy
무료Sea Otter
by Natalina Craft
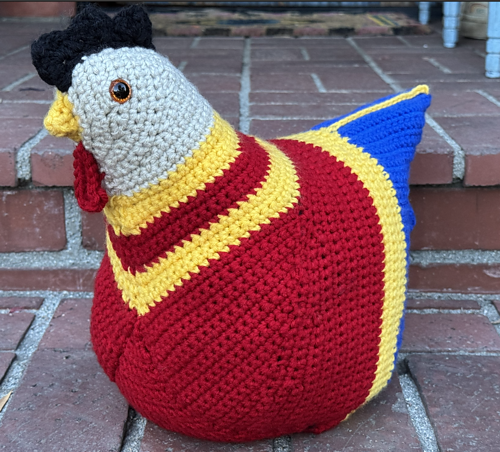
무료Granny Square Chicken
by Sweet Softies
Froggy Pogy
by Marina Chuchkalova
Emotional Support Chicken® (Crochet)
by Annette Corsino
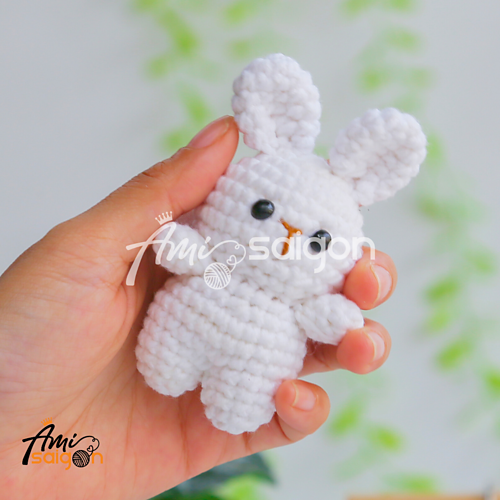
무료Little White Bunny
by Vui Vui
Beaded Fidget Hedgehog
by Emily Nigro
Dragon Popplet
by Nichole R.
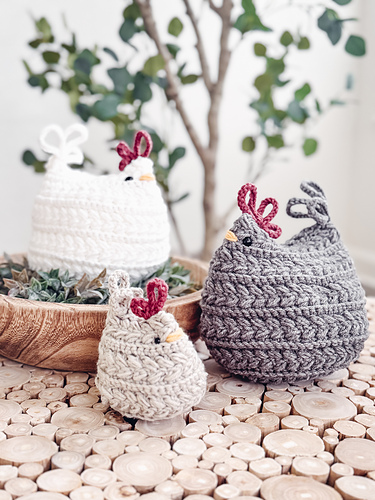
무료Wheat Stitch™ Chickens
by Briana K Designs