도안 목록으로 돌아가기

 무료
무료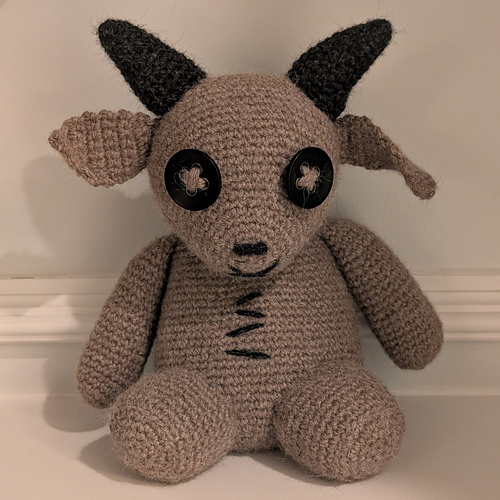 무료
무료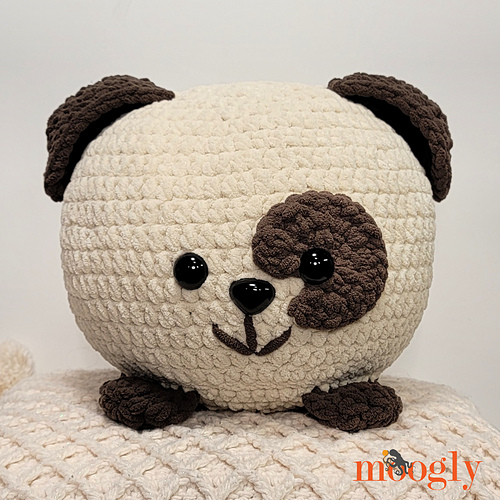 무료
무료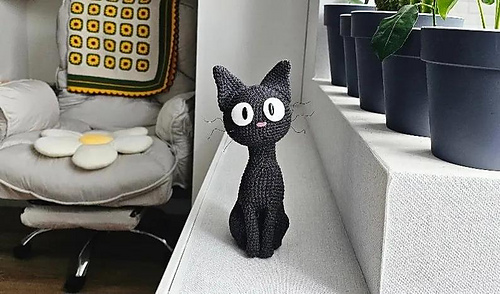
 무료
무료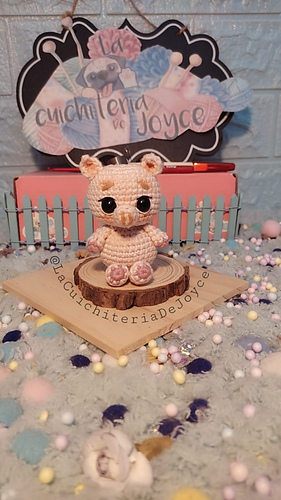 무료
무료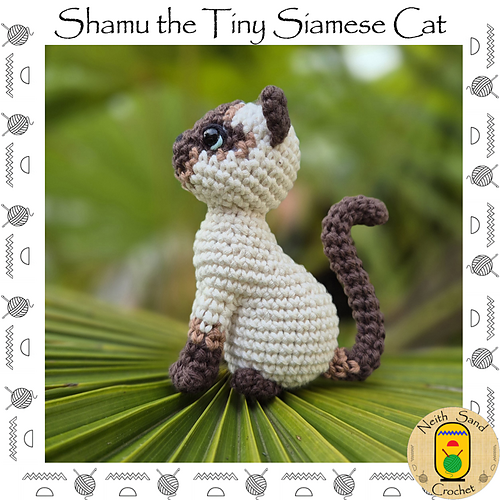
 무료
무료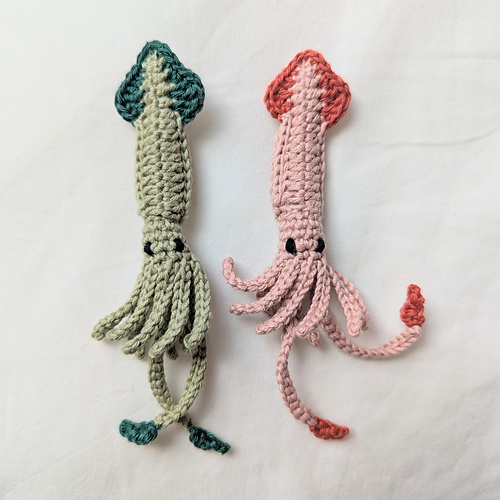 무료
무료
인형/소품유료 도안
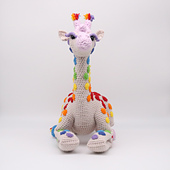
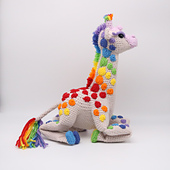
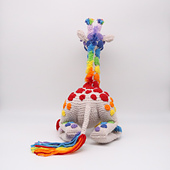
Iris the Baby Giraffe
디자이너: Maribel Montalvo
난이도0.0
바늘 크기
3.75mm
실 굵기굵은 실 (10~12합)
(Aran (8 wpi))
(Aran (8 wpi))
좋아요30
ADVERTISEMENT
도안 상세 설명 구글번역기로 번역하기
Hello and welcome to the crochet pattern for Iris the Baby Giraffe! Iris was my entry for the Amigurumi dot com Rainbow contest! I had a hard time thinking of something where I could place a rainbow pattern while still looking realistic. Even though I dreaded the idea of sewing on each individual spot it was the only way I could think of to bring my idea to life. I am so glad I followed it through, as she was voted into seventh place! I'll forever remember how I felt seeing her pop up on the Amigurumi dot com's page. Thank you from the bottom of my heart for your vote if you voted for her and thank you so much for your support in purchasing this pattern. I put a lot of care and love into designing this pattern and adding as many photos and additional instructions as I could. I hope that you enjoy following this pattern to make your own Iris. Thank you so much for your support. <3
This pattern is only available in English. It is written in US terminology and uses metric measurements. This is an advanced level pattern. While the main body is mainly done in one piece by joining various pieces together as you go, there are many smaller pieces for the head, and each spot has to be individually sewn on. The size and tediousness of the pattern can cause it to be more difficult to complete. I recommend you take your time to make this doll such as to not hurt or overexert yourself. Additionally, for the more complicated stitches, I have provided various pictures and detailed instructions to help you make this pattern. You can also check out my YouTube channel where you can find video tutorials for some of the more confusing stitches. My patterns can be found in following difficulties: Beginner level 1, Beginner level 2, Intermediate level 1, Intermediate level 2, Advanced. Level 1’s are easier than level 2’s.
This pattern was made with Premier Basix Worsted Solids yarn. The normal-colored version of Iris uses the colorways Aran (2 skeins), Cocoa (1 skein), Butterscotch (1 skein) and Mahogany (1 skein). The Rainbow version of Iris uses the colorways Crepe (2 skein), Red (1 skein), Goldfish (1 skein), Sunny (1 skein), Spring Green (1 skein), Blue (1 skein), Twilight (1 skein), Violet (1 skein) and Lilac (1 skein). Exact amounts of the yarn used are also provided in the pattern. You will also need a 3.75mm (F-5) crochet hook, a pair of 15mm doll safety eyes, 150g of fiberfill, yarn needle, stitch markers, pearlized sewing pins, a scissor, and a ruler.
You should be familiar with the following stitches and skills for this pattern:
Basic Stitches: slip knot, slip stitch, chain stitches, single crochet, single crochet increase, single crochet decrease, half double crochet, half double crochet increase, half double crochet decrease, double crochet, double crochet decrease, fasting off
Special Crochet Stitches: color change, invisible single crochet decrease, invisible half double crochet decrease, double crochet decrease into a back loop only
How to make a cow hitch knot
Making a magic ring
Working in the round (spiral)
Making a chain
Working into a foundation chain
Turning and working into turned pieces
Able to differentiate between turning pieces clockwise and turning pieces counterclockwise.
Able to keep track of your stitches and your rows
Counting stitches and rows
Able to identify between back and front loops of a stitch
Working into front loops only and back loops only
How to perform a color change
Securing loose ends
Using stitch markers to mark and identify stitches
Working into previously marked stitches
Working into stitches of previous rows
Working into stitches of different pieces
Working two individual pieces together
Working into different sides of a chain
Working over loose ends
Using a whip stitch to sew pieces onto each other and/or together
Embroidering on small details
Sewing two sides together to close off gaps
Weaving in loose ends after sewing pieces together
Cutting and styling yarn to give the impression of fur
The average size of the doll is listed below:
With her legs tucked under her, Iris measures 31cm from the bottom of her legs to the tops of her ossicones. Iris measures 35cm from the folded portion of her front leg to the very end of the tail fur tufts, and 11cm across her chest from one side to the other.
Be aware your doll may vary in size from mine. I have been told I have a tight tension when it comes to my stitches.
Note: These measurements were taken with a doll made with Premier Basix Worsted Solids and a 3.75mm (F-5) crochet hook.
Any yarn can be used to make this pattern, but if you are unable to find the yarns I used to design this pattern, try to use the same brand and type of yarn for all of the pieces. Keeping the same thickness in the different colored yarns is necessary in order for the finished pieces to be the right sizes and fit properly.
Gauge is not terribly important in amigurumi. However, if you wish to make a similarly sized doll as mine, or if you want to ensure that different types of yarn are of the same thickness, make a gauge swatch to match mine or to test that the different yarns have a similar swatch size. Use the following pattern for your gauge swatch.
R1: 6sc into a mr [6]
R2: (sc-inc)x6 [12]
R3: (sc, sc-inc)x6 [18]
R4: (2sc, sc-inc)x6 [24]
R5: (3sc, sc-inc)x6 [30]
My swatch measured 5cm in diameter with Premier Basix Worsted Solids yarn. If your swatch measures the same as mine (or to each other if you are testing two different types of yarns), our tensions match. Frog the swatch and continue with the pattern. If yours is bigger, repeat R1-R5 with a smaller hook (go down half or one hook size) than the one specified in the pattern, make another swatch, and compare the sizes again. If yours is smaller, make another swatch using a larger hook (go up half or one hook size) than the one specified in the pattern, and compare the sizes again. Do not try to achieve the swatch size by matching my tension, as you will naturally revert back to your normal tension as you continue to crochet. However, it is not crucial that our tensions match for this pattern so do not feel pressured to have the exact same sized swatch as me. Do try to use the same type of yarn for all pieces of this project to minimize any size disparities.
Terms and Conditions
By Purchasing this pattern, you agree to the following terms and conditions. This is an original TonkiCrafts Pattern. This pattern, and all parts derived from it, are protected by copyright laws. You may not use or claim any of the pictures in this pattern as your own. Copying, filming, altering, redistribution or resale of this pattern (or any of its parts) are not allowed. This pattern is intended for personal use only. You may sell dolls made from this pattern as long as they are made by you and not mass-produced. Mass production of this pattern is not allowed. Dolls must be sold one at time. Using this pattern for “preorder” or “made to order” formats is not allowed. When selling your dolls, please credit me as the creator of the pattern. An appropriate way to do so is: “Pattern by TonkiCrafts”. Tagging me or links to my sites are not necessary, but greatly appreciated in your finished products.
All pattern sales are final.
Safety Warnings
I do not recommend the dolls made from this pattern be given to infants, toddlers or young children. This pattern uses doll safety eyes which can pose a choking hazard. This pattern also creates small pieces which may also pose a choking hazard. Always supervise children when playing with dolls made from this pattern.
Though all of the pieces should be securely sewn, always supervise children when playing with this toy as pieces may come loose with enough force and pose a choking hazard.
Use caution when using scissors as they have sharp blades. Keep fingers away from their cutting edges. Use only for their intended purpose and with care.
Sewing pins should be stored in a designated area or pincushion when not in use. Use caution when using pins such as to not prick yourself. Use sewing pins with caution and for their intended purpose.
If you have any questions, please feel free to message me. Thank you for your support!
* 이 도안은 유료이므로 Ravelry에서 별도 구매가 필요합니다.
비슷한 느낌의 도안들
옆으로 밀어서 보기 →Iris the Baby Giraffe
by Maribel Montalvo
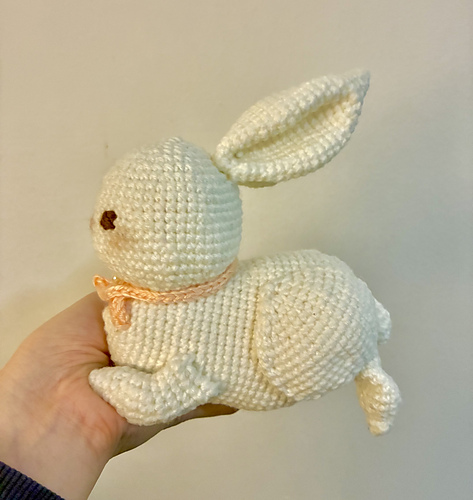
무료Rabbit
by clynae 2
무료Deadlock Billy Goat Amigurumi
by zylime
무료Puppy Squish
by Tamara Kelly
Black Cat crochet
by Olga Kurchenko
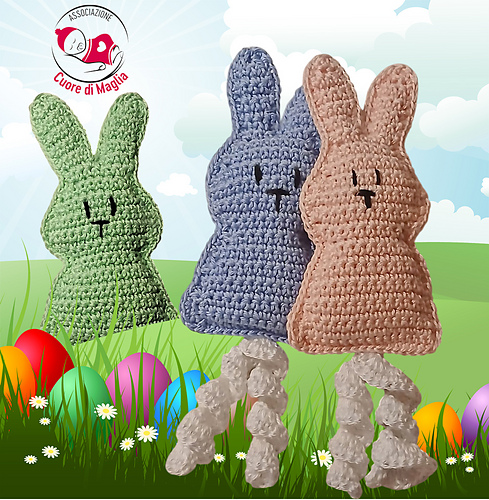
무료Peep Bunny
by Associazione Cuore di Maglia
무료Hamm de Toy Story
by La Cuichiteria de Joyce
Shamu the Tiny Siamese Cat
by Neith Sand
무료Granny Square Chicken
by Sweet Softies
무료Squid
by Dahlia