도안 목록으로 돌아가기

 🪄 도안 확인하기
Shawl/Wrap무료 도안
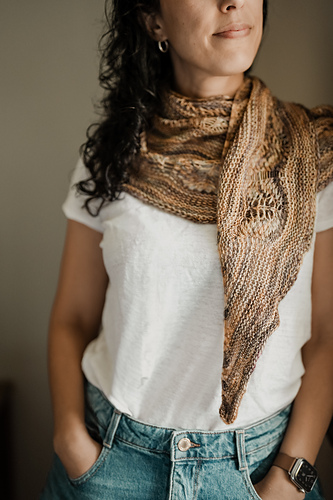
Clapotis '24
디자이너: Kate Gilbert
난이도2.5
바늘 크기
5mm
실 굵기굵은 실 (10~12합)
(Aran (8 wpi))
(Aran (8 wpi))
좋아요2098
ADVERTISEMENT
도안 상세 설명 구글번역기로 번역하기
**Editor's note:** This updated version of the legendary Clapotis pattern is here to commemorate the pattern's 20th Anniversary of publication as part of the Clapotisfest celebration!
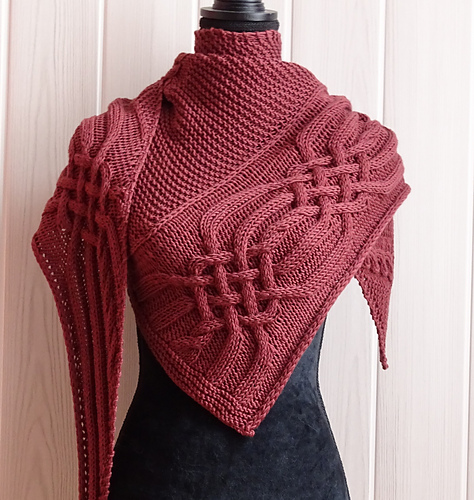
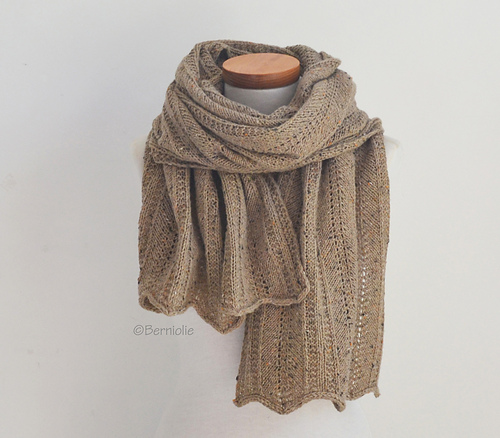
**Construction method:** The scarf begins in a point at one corner, and increases are worked at the end of each row. Once you’ve reached the full width of the scarf for the main body, it is worked straight until the desired length is achieved, then decreased back down to a point at the far corner.
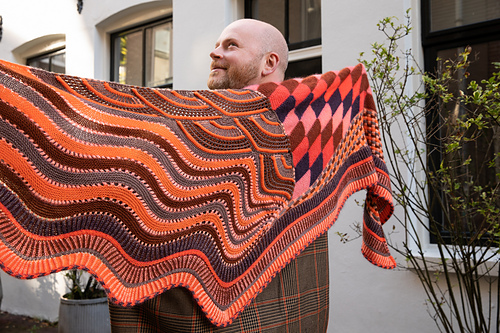
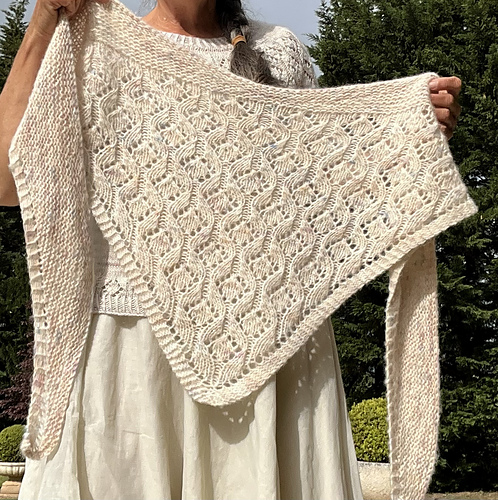
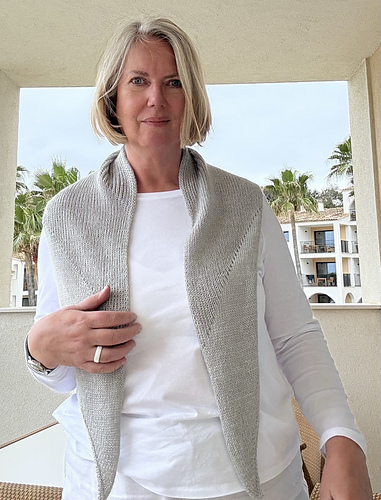
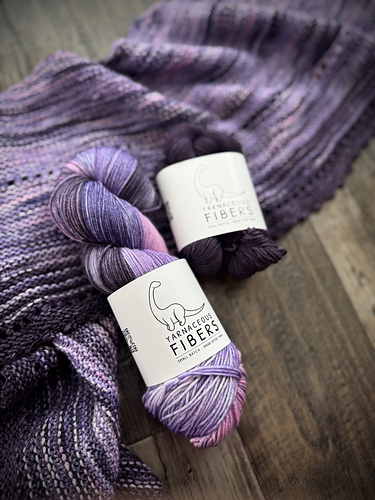
**Suggested yarn:** Any yarn in any weight can be used in place of the discontinued original yarn. Adjust needle size to match the yarn you use so that the solid sections read as solid. The finished shawl will be most interesting when a non-solid colorway is used. Because of the simple stitch pattern, a super-variegated high-contrast colorway can work well here. Note that with fuzzy yarn (such as mohair or brushed alpaca), dropping the laddered stitches will be a bit more laborious. Yarn with stretch/memory, such as non-superwash wool, will show the ripples best. Shimmery, smooth yarns will not hold the ripples but can also be beautiful.
This pattern can easily be adjusted in size (especially helpful if you are changing the gauge of the yarn) in this way:
1. Work Set-up Rows as for scarf.
2. Work Increase Rows until piece is desired width (measure width along right-hand side of triangle, with RS facing.) Work Increase Rows 1-6 once more before proceeding to Straight Rows.
3. Work Straight Rows until piece is desired length (measure length along left-hand side of piece, with RS facing.)
4. Work Decrease Rows as necessary until 23 sts rem.
Work Decrease Rows 1-10 once more.
Work Final Rows.
**Which side is the right side?**
The ripples show best when the purl side is displayed, and that's how it's intended to be worn. See picture below. Blocking is neither required or recommended, in order to leave the ripples in their original ripply state.
**Knitting tip:** If you find stitch markers annoying, try this (thanks to AzzyMakes for the tip!):
On the RS, purl the stitch to be dropped (knit on the WS) – this will allow you to forgo the use of stitch markers
On the WS, purl through the back loops of the stitches that were knit through the back loops on the RS – this gives neater edges once the stitches are dropped
* 버튼을 누르면 Ravelry 다운로드 페이지로 이동합니다.
(주의: 디자이너의 설정에 따라 무료 기간이 종료되어 유료로 전환되었을 수 있으니 이동 후 무료 여부를 꼭 확인하세요!)