도안 목록으로 돌아가기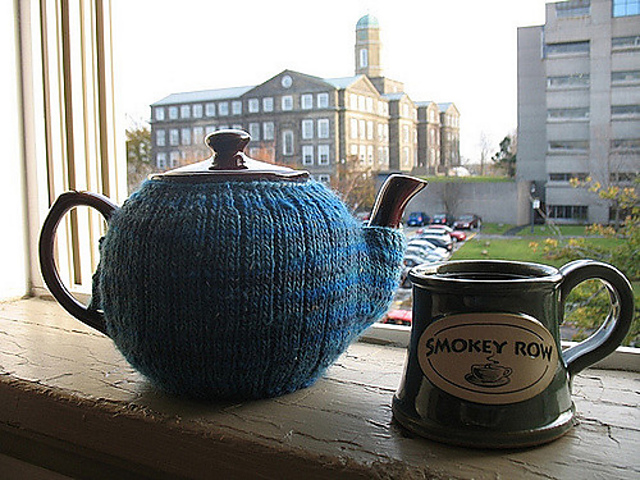
 🪄 도안 확인하기
 무료
무료

 무료
무료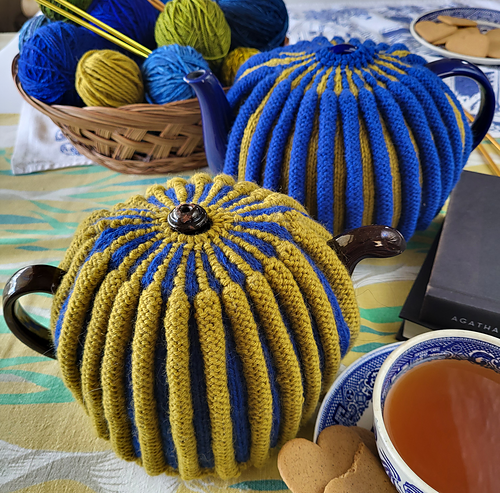
 무료
무료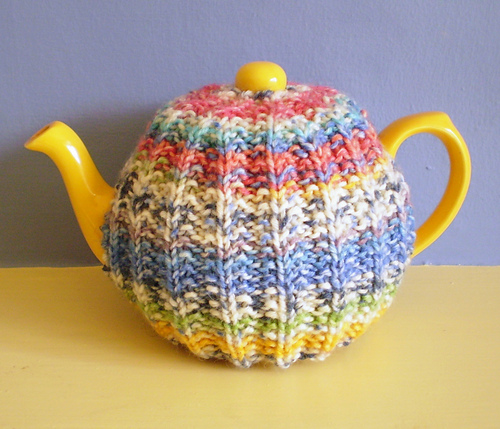 무료
무료

Home무료 도안
Tea Mitten
디자이너: Elisabeth Kleven
난이도2.9
바늘 크기
3.5mm
실 굵기중간 실 (6~8합)
(DK (11 wpi))
(DK (11 wpi))
좋아요6678
ADVERTISEMENT
도안 상세 설명 구글번역기로 번역하기
The tea cozy has enjoyed a healthy relationship with knitting for generations. I came up with this one because I was tired of my tea getting cold during long Latin study sessions, but I didn't want to obscure my teapot’s lovely curves. I also tend to lose things, and I knew that a tea cozy that require full removal would not last long in my house. Voila! A form-fitting sweater for my loved study buddy.
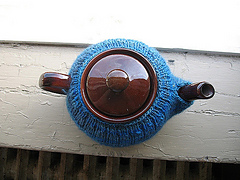
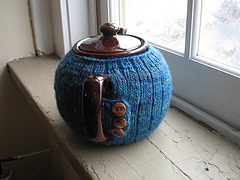
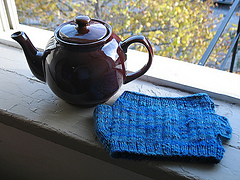
The ribbing and negative ease holds the fabric snugly against the side of the teapot, and a little button flap keeps the whole thing secured. The lid remains uncovered for easy tea-making access, and the "thumb" gusset for the spout—the key to this mitten-inspired cozy—ensures that the tea isn't rudely frozen on the way out.
Due to the fitted nature of this pattern, my numbers are not likely to be perfect for all teapots. Indeed, one could make this out of just about any yarn, and get a completely different effect! Rustic yarns like moderately slubby singles and handspun look great on a Brown Betty!
Many talented knitters have made some really fantastic modifications of this simple pattern -- adding colourwork and cables or altering stitch counts to fit their teapots. Check out the projects page above!
**Note on Row 9**
This is the row where the ribbing at the bottom increases to allow for the widening of the teapot, and it's also the spot where the split for the handle comes in, so with all those moving parts, it's an easy spot for confusion to show up! Here's a more detailed explanation of Row 9, that might help if you're having trouble!
Part of the problem about communicating about this on Ravelry is that using asterisks here converts the text to italics or bold instead, so rather than the asterisks used in the pattern, in this note I’m going to use curly brackets { }.
Row 9 (RS): k2, {p1, k1, m1, k1} twelve times, m1p, pm, { }, m1p, pm, { } twelve more times, p1, k first stitch from next needle, turn.
In the abbreviations, it says that when you encounter two asterisks (or in this note, two curly brackets), you repeat the stitch pattern mentioned earlier in the line, between the asterisks.
That means that you’re doing this:
k2
{p1, k1, m1, k1} 12 times
m1p
pm
{p1, k1, m1, k1}
m1p
pm
{p1, k1, m1, k1} 12 times
p1
k first stitch from next needle
turn
[1]: http://afabletoaster.wordpress.com
* 버튼을 누르면 Ravelry 다운로드 페이지로 이동합니다.
(주의: 디자이너의 설정에 따라 무료 기간이 종료되어 유료로 전환되었을 수 있으니 이동 후 무료 여부를 꼭 확인하세요!)
비슷한 느낌의 도안들
옆으로 밀어서 보기 →The Impossible Square
by Artesanitarium Designs
무료Tea Cosie Lining
by Tina's Allsorts
Sweet as Honey Tea Cozy
by Beehive Wool Shop
Sheep Carousel
by Kate Davies Designs
무료teapot turtleneck
by Suzanne Resaul
Agatha's Tea Cozy
by Nina Machlin Dayton
무료Tea Mitten
by Elisabeth Kleven
무료Mistake Rib Tea Cosy (DK)
by Frankie Brown
Highland Cow Tea Cosy
by K.M. Bedigan
Emily's Garden Cozy
by Lauren Rad