도안 목록으로 돌아가기
Pullover유료 도안
Aprilwetter
디자이너: Anke Telschow
난이도0.0
바늘 크기
3.5mm
실 굵기중간 가는 실 (5합)
(Sport (12 wpi))
(Sport (12 wpi))
좋아요294
ADVERTISEMENT
도안 상세 설명 구글번역기로 번역하기
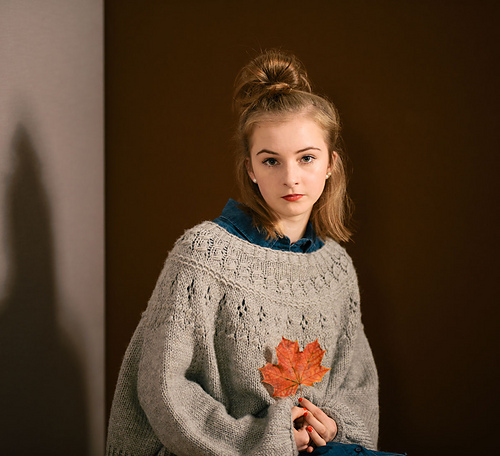
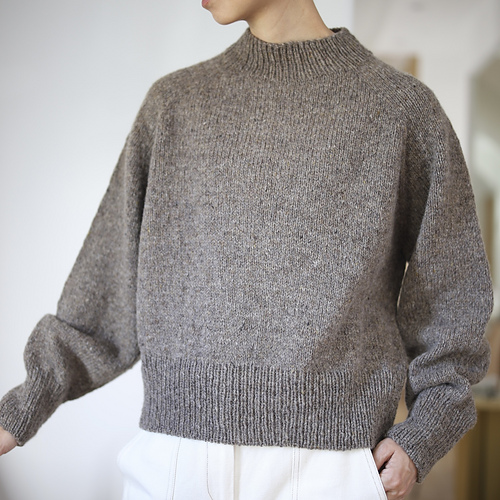
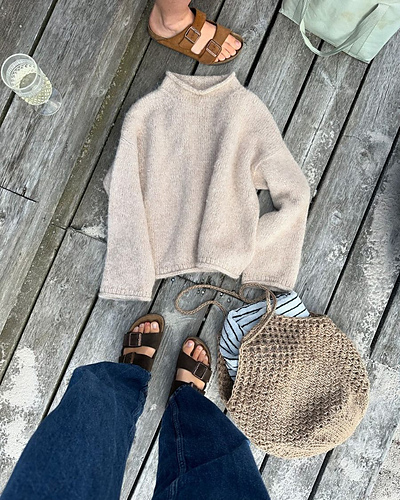
The “Aprilwetter” pattern name reflects that the design is as versatile as the changeable weather in April: It is a modern sweater for spring featuring a **funnel neck** – which could easily be exchanged for a deep standard neck edge, as the sweater is optionally started with a (provisional) cast-on and worked top-down (and in the end, the cast-on is resolved to add the neck edge in the opposite direction).
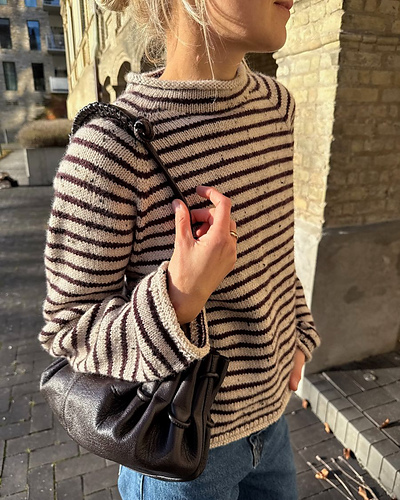
The **sweater** itself is worked **top-down** with **circular yoke increases**, which creates a round yoke where the **neck is a bit lower on the front side than on the back** – so you start with the stripe sequence right away, **without any short rows in the back neck**. This is achieved by working twice as many increases per round on the front as on the back, but only half as often (like for my [Sunnyside](/patterns/library/sunnyside-6) shirt, but at a different gauge) – which creates different curves for the necklines. Moreover, the front neck starts with a few stitches more, to be compensated later.
**Yarn & gauge**
**Needles: Main needle size is 3,5mm** (3,25mm for yarn without much elasticity); 3,0mm and 2,5mm used for folded hem, cuff and collar; 2,0mm for the turning ridges.
**Gauge: 24 sts x 34 rows** in Stockinette.
**Approx. 1200/ 1350/ 1500/ 1650/ 1800 m of a Sport Weight** (or thick Fingering Weight) yarn needed, evenly distributed between color C1 and C2, including 50m for contrast color edges.
**Overview: The sweater is worked top-down, in the following order:**
• **Step 0:** If you are already sure about the funnel neck, work **folded collar** top-down (**option 0A**).
Or, **to keep neck options open, provisionally cast on stitches** and add neck later in step 4 (**option 0B**).
• **Step 1:** Work **yoke**, with stripes and radial yoke increases (in different ways for back and fronts, to shape a deeper front neck).
• **Step 2: Lower body:** When you have reached the required width and yoke length, seperate into body and sleeves. Continue body in stripes, ending with a folded hem.
• **Step 3:** Work **sleeves** in stripes with a folded cuff.
• **Step 4** (as alternative to step 0, option A): **Undo provisional cast-on and add funnel neck as folded collar (or any other neck edge you prefer), bottom-up**.
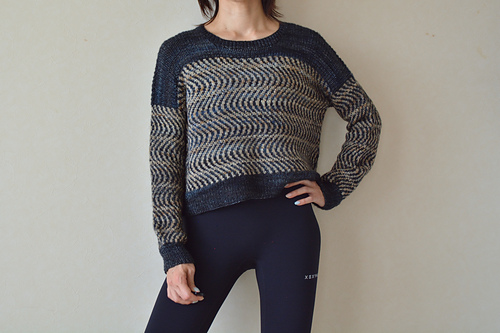
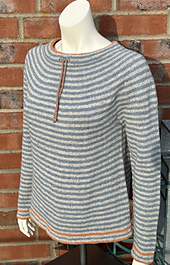
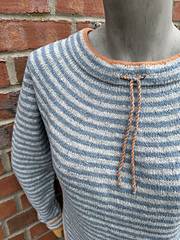
**Sample 1** in blue/ light grey was worked as option 0A with **funnel neck** and **folded hem/ cuff.**
**Sample 2** in 5 shades of purple was worked as option 0A with **ribbed neck + ribbed hem + ribbed cuff.**
* 이 도안은 유료이므로 Ravelry에서 별도 구매가 필요합니다.