도안 목록으로 돌아가기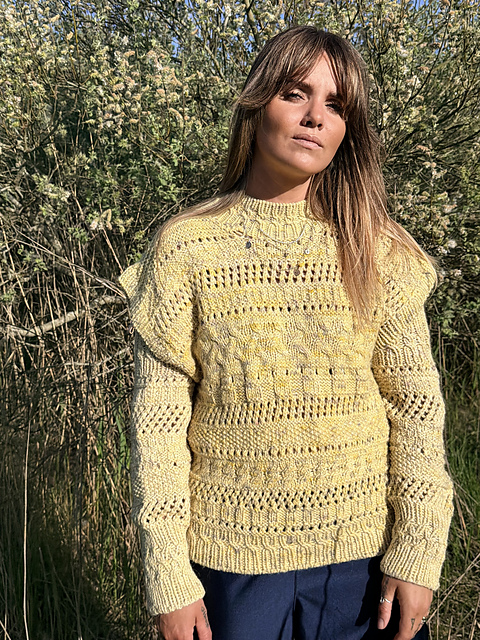
 무료
무료

 무료
무료
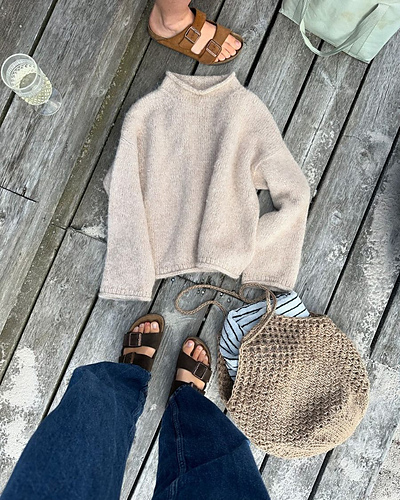

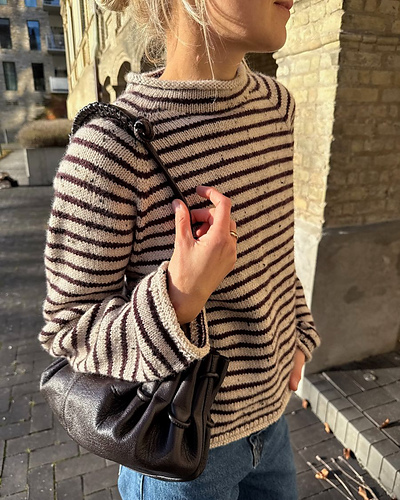
Pullover유료 도안
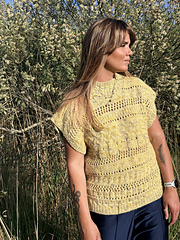
Helenahack vest/sweater
디자이너: Thelma Steimann
난이도0.0
바늘 크기
6mm
(13호)
실 굵기매우 굵은 실 (소품용)
(Bulky (7 wpi))
(Bulky (7 wpi))
좋아요7
ADVERTISEMENT
도안 상세 설명 구글번역기로 번역하기
**English version**
Style HELENA HACK VEST/SWEATER is a knitwear pattern instructions. The pattern comes in a PDF file, and can be downloaded and printed from the computer.
**Size chart**
Sizes: XS (S) M (L) XL (XXL)
Bust circumference: 105 (112) 119 (126) 133 (140) cm
Body length to shoulder: 56.5 (60) 64 (65) 65 (65) cm
Helenavest is designed with approximately 25–35 cm of positive ease, especially in the smaller sizes, with gradually less positive ease in the larger sizes. Positive ease refers to how much larger the vest is compared to your body’s bust measurement.
All measurements are based on the vest after washing and blocking.
**Level**
Knitting & purling, picking up stitches, yarn over, increases and decreases, Kitchener stitch, cable knitting.
**Material**
Hand-dyed Chunky Baby Alpaca, 100% baby alpaca wool from Thelma Steimann.
A super soft and wonderful yarn to work with. Each hank: 100 m / 100 g
Chunky Baby Alpaca: 6 (6) 7 (7) 8 (9) hanks
& for sleeves :
Chunky Baby Alpaca: 2 (2) 3 (3) 3 (3) hanks
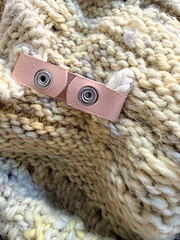
2 leather snaps from Striksakken to attach the sleeves
**Needles & notions**
Circular needles 6 mm (40/80/100 cm)
Circular needles 4.5 mm (40 cm)
Additional DPN or cable needle for cables
Stitch markers
Tapestry needle for weaving in ends and stitching shoulders
Holding cord or scrap yarn for resting stitches
**Gauge (tension sample)**
Always check your gauge before starting.
Cast on 15 sts and work k2, p2 for 16 rows using 6 mm needles to make a 10 × 10 cm swatch. Wash and block sample.
If your gauge is too tight, change to larger needles.
If your gauge is too loose, change to smaller needles.
**Good to know**
This pattern is a collaboration between Thelma Steimann and Striksaken.
Helena Hack Vest is a combination of a vest and a sweater.
The vest is worked from the bottom up in the round until the armholes. From there, the work continues back and forth. Follow the diagrams throughout and adjust according to your size. The front is opened for the neckline and shaped with decreases and later increases, before being joined to the back using Kitchener stitch. The neckline is worked in ribbing in the round, incorporating cables as shown in the diagram. Stitches for the armholes are picked up along each side and worked in ribbing in the round.
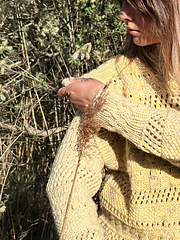
The sleeves are worked in the round following the diagram. The sleeves are optional and can be attached to the vest using leather snaps from Strikksaken.
* 이 도안은 유료이므로 Ravelry에서 별도 구매가 필요합니다.
비슷한 느낌의 도안들
옆으로 밀어서 보기 →무료Step by Step Sweater
by Florence Miller
Long Line Pullover
by Sarah Antipenkov
cyrus pullover
by aegyoknit, by Karoline Skovgaard Bentsen
Everyday Popover
by Hannah Fettig
Olga Sweater
by PetiteKnit
무료Youth Cedar Pullover
by Amanda Morse
Ranunculus
by Midori Hirose
Cloud Sweater
by PetiteKnit
Monday Sweater
by PetiteKnit
Frankie Sweater
by PetiteKnit