도안 목록으로 돌아가기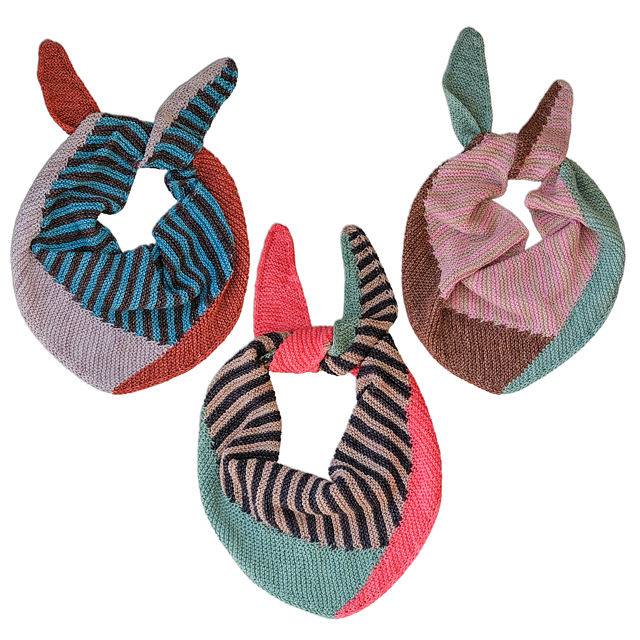
Scarf유료 도안
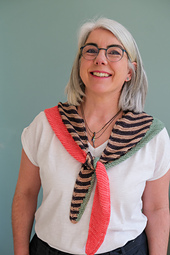
Veiga
디자이너: Belén Fernández
난이도3.4
바늘 크기
3.75mm
실 굵기보통 가는 실 (4합)
(Fingering (14 wpi))
(Fingering (14 wpi))
좋아요4682
ADVERTISEMENT
도안 상세 설명 구글번역기로 번역하기
Español más abajo.
**ENGLISH**
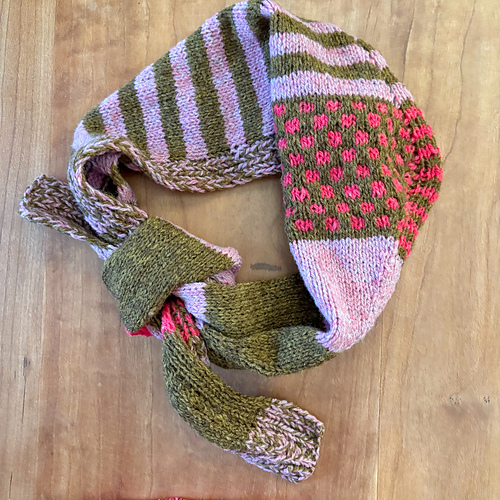
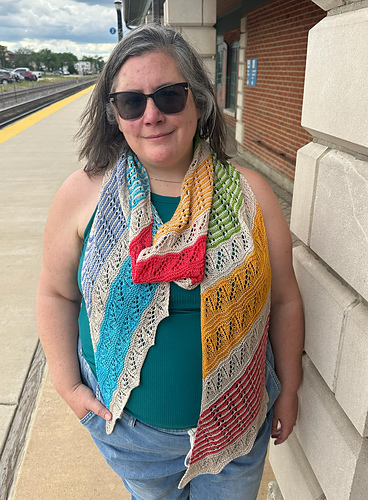
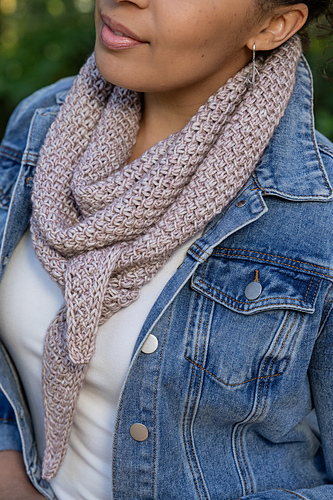
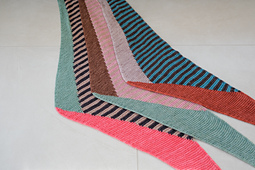
The Veiga bandana is worked from one tip to the other, first increasing to the halfway point and then decreasing. It’s a perfect opportunity to use up fingering-weight yarn scraps (although you can make it with any yarn weight – this will simply affect the final dimensions) and to learn or practise the intarsia technique.
The pattern includes video tutorials showing each step, as well as guidance on how to twist the yarns both in a striped icord edge and when introducing a new colour in the middle of a row. The result is a fun and engaging knit, with the added satisfaction of using up scraps and learning a range of new techniques.
**MATERIALS**
* 3.75 mm (US 5) straight or circular needles. Adjust if necessary to achieve gauge – see below.
* 2 markers.
* Optional: removable markers, scrap yarn or stitch holder if you want to do the provisional cast on.
**GAUGE**
25 stitches and 36 rows in 10 cm / 4 inches after blocking.
Gauge is not important in this pattern but it might affect the final dimensions and amount of yarn used.
**YARN**
Fingering or light fingering yarn in 4 colours. I used Minis by Soc una troca!!! (75% merino, 25 % nylon, 84 m in 20 g).
* Colour 1 (C1): 76 m / 83 yds. I used the Damajuana colourway (green).
* Colour 2 (C2): 78 m / 85 yds. I used the Café au lait colourway (beige).
* Colour 3 (C3): 71 m / 78 yds. I used the Rosetta colourway (pink).
* Colour 4 (C4): 59 m / 65 yds. I used the Coffee colourway (brown).
**DIMENSIONS**
118 cm / 46.5" from tip to tip and 24 cm / 9.5" deep.
___________________
**ESPAÑOL**
La pañoleta Veiga se teje de una esquina a otra, primero aumentando hasta alcanzar la mitad y después disminuyendo. Es una oportunidad perfecta para utilizar restos de lana de grosor fingering (aunque puedes tejerla con cualquier grosor; solo variará el tamaño final) y para aprender o practicar la técnica de intarsia.
El patrón incluye vídeo tutoriales que muestran cada paso, así como un repaso de cómo cruzar los hilos tanto en un i-cord (cordón tubular) de rayas como al introducir un nuevo color en medio de una vuelta.
El resultado es una pañoleta divertida y entretenida de tejer, con la satisfacción de haber aprovechado restos de lana y aprendido un montón de técnicas.
**MATERIALES**
* Agujas rectas o circulares de 3,75 mm. Si usas agujas circulares, te recomiendo un largo de 60 cm. Ajustar el número de aguja si es necesario para conseguir la misma tensión que el patrón – ver más abajo.
* 2 marcadores.
* Opcional: marcadores tipo imperdible, lana de desecho o imperdible si quiere hacer el montaje provisional.
**TENSIÓN**
25 puntos y 36 vueltas en 10 cm después de bloquear.
La tensión no es importante para este patrón pero puede afectar las dimensiones finales y la cantidad de hilado.
**HILADO**
4 colores de lana de grosor fingering o light fingering. Yo usé Minis de Soc una troca!!! (75% merino, 25 % nailon, 84 m en 20 g).
* Color 1 (C1): 76 m. Yo usé el color Damajuana (verde).
* Color 2 (C2): 78 m. Yo usé el color Café au lait (beige).
* Color 3 (C3): 71 m. Yo usé el color Rosetta (rosa).
* Color 4 (C4): 59 m. Yo usé el color Coffee (marrón).
**DIMENSIONES**
Aproximadamente 118 cm de extremo a extremo y 24 cm de profundidad.
* 이 도안은 유료이므로 Ravelry에서 별도 구매가 필요합니다.