도안 목록으로 돌아가기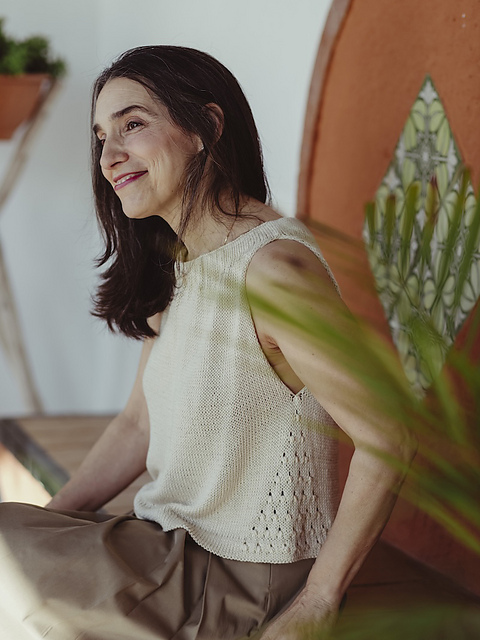

Tank/Camisole유료 도안
UVA Top
디자이너: Juana Román
난이도3.9
바늘 크기
4mm
실 굵기중간 실 (6~8합)
(DK (11 wpi))
(DK (11 wpi))
좋아요424
ADVERTISEMENT
도안 상세 설명 구글번역기로 번역하기
----------------------- ENGLISH
**UVA** includes video tutorials that make sure you do not stop at any time in your knitting.
**Sizes**: 1 (2, 3, 4) (5, 6, 7) covers a range of chest measurements from 80 to 140cm.
If you need a larger size, don’t hesitate to get in touch with me and I will scale up the pattern to the size you need.
**Final item measurements at the chest in cm**:
92 (102, 112, 122) (132, 142, 152) cm approx. This top is designed to be worn with positive ease of between 6 and 16 cm approximately at the chest.
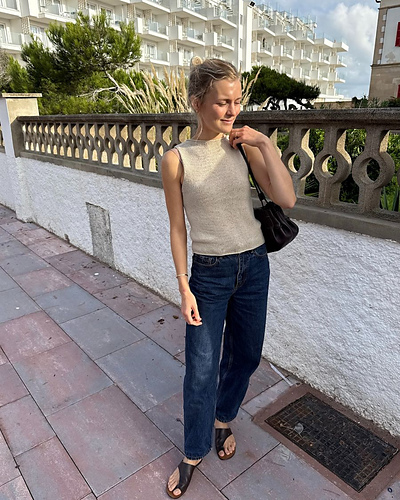
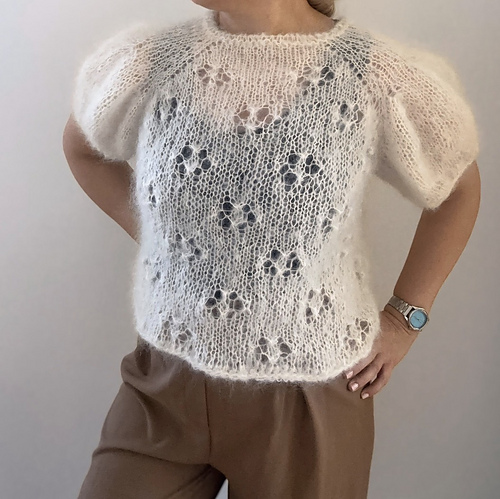
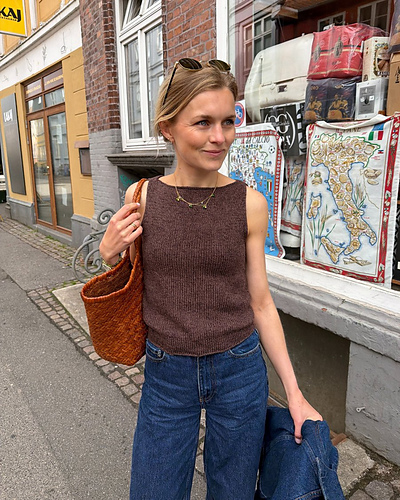
The sample shown is size 2 with 12cm of positive ease.
**Gauge**: In stockinette stitch in the round 10x10cm gives:
22.5 stitches and 29 rows before blocking.
22 stitches and 27 rows after blocking.
It is advisable to note the measurements of the swatch before and after blocking, that way you will be able to estimate the final measurements of the garment.
**Yarn**: DK weight yarn 125m / 50g approx.
589 (664, 726, 805) (866, 947, 1024) m
237 (268, 293, 325) (349, 382, 413) g
5 (6, 6, 7) (7, 8, 9) skeins
These amounts are approximate. The total yarn used will also depend on the type of yarn, your gauge or any modifications you may make to the garment.
The sample shown used MY KNITTED CLOSET The Sweet Viscose (100% viscose from sugarcane, 125m / 50g), colour: 015 Cream**Agujas**: Circulares de 4mm y 3.5mm con cable de 60 u 80cm o grosor adecuado para obtener la tensión de la muestra.
**Other materiales**:
· 2 stitch markers, one of which should
be different to mark the beginning of
round.
· About 100cm of elastic 1.75cm
wide.
· Sewing thread and needle to join
the elastic of the neckband.
· Safety pin for testing the circumference of
the elastic of the neckband. Thread for placing lifelines.
· Accessory for leaving stitches on hold.
· Cable needle or a locking stitch marker for cables.
· A long cable with a connector or any accessory to allow you to try on the garment.
· Tape measure, tapestry needle and scissors.
**Construction**:
UVA is worked top-down in the following sequence:
1.- Cast on stitches to work the neckband in the
round.
2.- Separate to work the back and front flat to the
underarm separately.
3.- Finally, rejoin the back and front to work in the
round, forming the texture of the grapes on the sides,
down to the bottom.
And it's ready! Time to find the perfect look for it.
**Difficulty level**: 3 de 5
----------------------- ESPAÑOL
**UVA** incluye videotutoriales que hacen que no te quedes parad@ en ningún momento en el tejido.
**Tallas**: 1 (2, 3, 4) (5, 6, 7) cubren un rango de contorno de pecho de 80 a 140cm.
**Medidas finales de la prenda en el contorno de pecho en cm**:
92 (102, 112, 122) (132, 142, 152)cm aprox.
Esta camiseta está diseñada para ser llevada con una holgura de entre unos 6 y 16cm aproximadamente en el contorno del pecho.
El modelo de la fotografía es la talla 2 con 12cm de holgura.
**Tensión**: A punto liso en circular 10x10cm son:
22.5 puntos y 29 pasadas antes del bloqueo.
22 puntos y 27 pasadas después del bloqueo.
Es aconsejable anotar las medidas de la muestra antes y después del bloqueo, de esa forma podremos estimar las medidas finales de la prenda.
**Hilado**: hilado de grosor DK 125m = 50g aprox
589 (664, 726, 805) (866, 947, 1024) m
237 (268, 293, 325) (349, 382, 413) g
5 (6, 6, 7) (7, 8, 9) ovillos
Estas cantidades son aproximadas. El metraje total de hilo empleado va a depender también del tipo de hilado, tensión o de las modificaciones que hagamos a la prenda.
Para el modelo de la fotografía hemos usado MY KNITTED CLOSET The Sweet Viscose (100% Viscosa de caña de azúcar, 125m = 50g), color: 015 Cream
**Agujas**: Circulares de 4mm y 3.5mm con cable de 60 u 80cm o grosor adecuado para obtener la tensión de la muestra.
**Accesorios**:
· 2 marcadores, uno de ellos distinto para indicar el inicio de vuelta.
· Unos 100cm de elástico de 1.75cm de grosor.
· Hilo y aguja de costura para unir el elástico del cuello.
· Imperdible para la prueba del contorno del elástico del cuello.
· Hilo para poner líneas de vida.
· Útil para dejar puntos en espera.
· Aguja auxiliar o un marcador de candado para hacer cruce de puntos.
· Cable largo con conector o cualquier útil para ir probándonos la prenda.
· Cinta métrica, aguja lanera y tijeras.
**Construcción**:
UVA se teje de arriba hacia abajo con la siguiente
secuencia:
1.- Montamos los puntos para tejer el cuello en
circular.
2.- Separamos para tejer en abierto espalda y
delantero hasta la parte más baja de la sisa.
3.- Por último, volvemos a unir de nuevo para tejer en
circular hasta abajo, formando la textura de las uvas
en los laterales.
¡Y listo! A buscarle un bonito look.
**Nivel de dificultad**: 3 de 5
* 이 도안은 유료이므로 Ravelry에서 별도 구매가 필요합니다.