도안 목록으로 돌아가기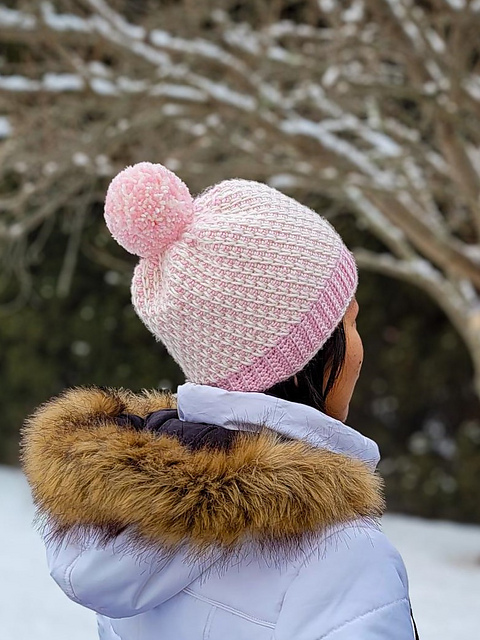


 무료
무료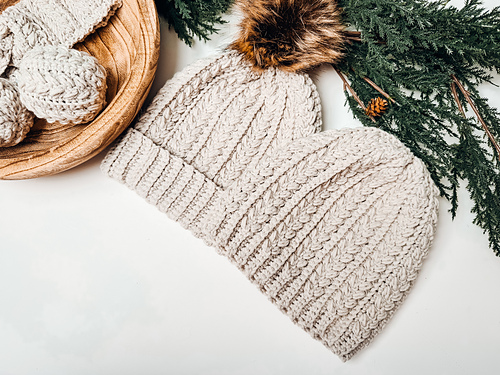 무료
무료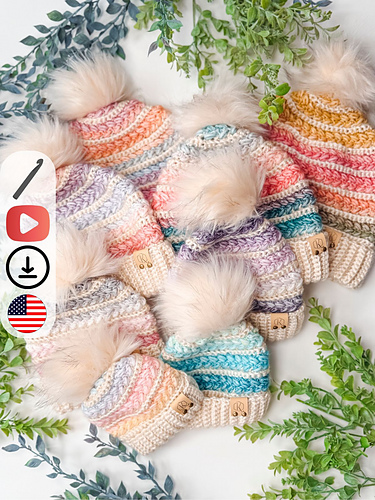 무료
무료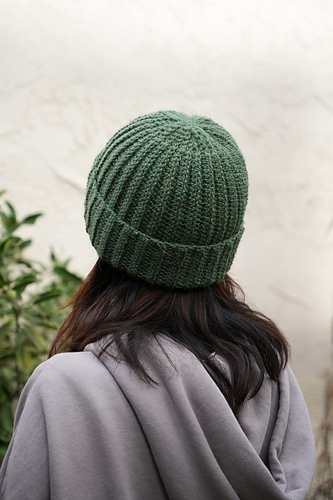
 무료
무료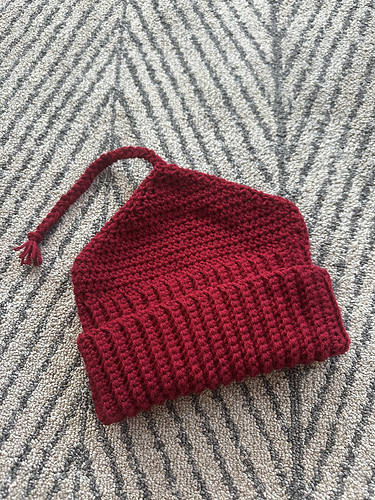
 무료
무료 무료
무료 무료
무료
Hat유료 도안
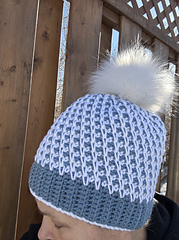
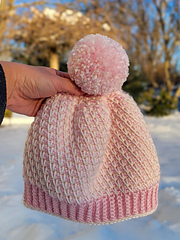
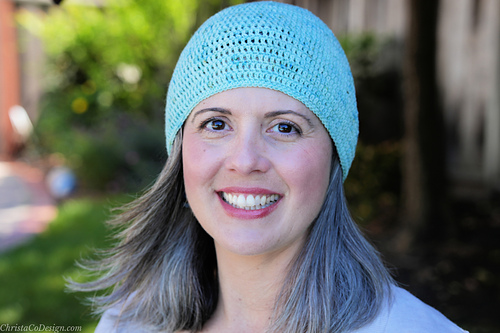
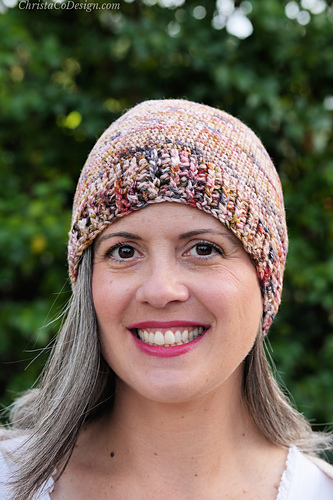
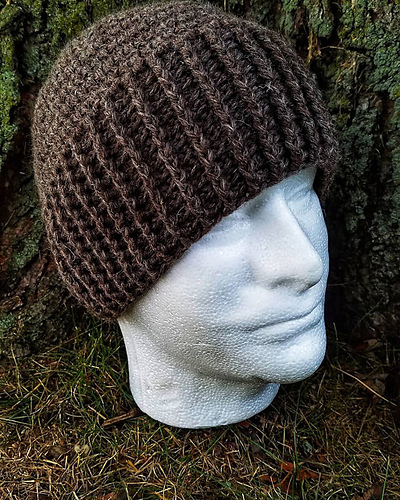
Bits and Pieces Beanie
디자이너: Elisa DeSena
난이도0.0
바늘 크기
5mm
(8/0호)
실 굵기굵은 실 (10~12합)
(Aran (8 wpi))
(Aran (8 wpi))
좋아요27
ADVERTISEMENT
도안 상세 설명 구글번역기로 번역하기
The Bits and Pieces Beanie is a fun project that uses two different colors of yarn. Although it can also be made with just one color, the possibilities for incorporating colors are limitless. If the worsted-weight yarn is too thick for you, consider working this beanie with DK-weight yarn, but be sure to check your gauge. This project is ideal for using up scrap yarns. The textured design is truly amazing!
SKILL LEVEL: Intermediate
MATERIALS
• Worsted Weight (#4) Yarn. I used Bernat Satin in Sea Shell for the Main Color – approx. 110 yards & Silk for Contrasting Color – approx. 130 yards
• Crochet Hook Sizes 5 mm and 5.5 mm (or size to obtain gauge)
• Scissors
• Darning Needle
• Tape Measure
• Optional: Stitch Marker, Pompom
GAUGE: Brim: 8 sts X 8 rows = 2 inches (in pattern) | Body: 8 sts X 10 rounds = 2 inches (in pattern)
FINISHED MEASUREMENT:
SIZE (BRIM CIRCUMFERENCE X HAT LENGTH)
Teen/Small Adult: 18” X 8.5”
Medium Adult: 19” X 9”
Large Adult: 20” X 9.5”
Extra Large Adult: 21” X 10”
STITCHES AND ABBREVIATIONS | US Terminology
BLO – Back Loop Only
Ch(s) – Chain(s)
SC2Tog – Single Crochet Two (2) Stitches Together (decrease)
Rep – Repeat
SC – Single Crochet
Slst(s) – Slip Stitch(es)
St(s) – Stitch(es)
SPSC – Spike Single Crochet or Long Single Crochet
WC – Waistcoat (or Knit Stitch Crochet)
NOTES
1. Read the pattern carefully before starting.
2. This pattern is worked from the bottom (brim/band) up.
3. The beginning ch 1 does not count as a stitch.
4. * * repeat instructions between asterisks as many times as directed or repeat at specified locations.
5. Pattern is written as follows: Teen/Small Adult (Medium Adult, Large Adult, Extra Large Adult)
6. Not all heads conform to size by age; please measure for a more accurate fit. If you want to adjust the size of your beanie, you should add/subtract 2 rows to the brim pattern. If you want your beanie to be longer or slouchy, add a few more rounds before working on the crown of your beanie. Note that the main (body) pattern repeat is a multiple of 2 stitches.
7. I recommend using stitch markers to mark the beginning of the round. Remember to move the stitch marker as you progress.
8. Try working your waistcoat stitch as loosely as possible, particularly if you are a tight crocheter. The space where you need to insert your hook can get very tight, making crocheting the waistcoat stitch hard on your hands.
I would love to see your Bits and Pieces Beanie version! Please tag me @stringsandcuddles and use these hashtags to share: #stringsandcuddles, #stringsandcuddlesdesigns, #bitsandpiecesbeanie
Please don’t hesitate to reach out with questions regarding this pattern.
Do not forget to visit my Ravelry shop to check out my other patterns.
* 이 도안은 유료이므로 Ravelry에서 별도 구매가 필요합니다.
비슷한 느낌의 도안들
옆으로 밀어서 보기 →Melt the ICE (Crochet Version)
by ssward
무료Nella Hat
by Crystal Marin
무료Snowy Wheat Stitch™ Puff Crochet Hat
by Briana K Designs
무료Wheat Stitch™ Beanie
by Briana K Designs
No Extra Fabric Ribbed Beanie
by Viv Crochets
무료Giulietta Hat
by Crystal Marin
EASY Melt the ICE Hat
by Rachel Mendelowitz
무료The Lakeside Beanie
by Chellie Plummer
무료Ribbed Wonder Easy Hat
by Crochet 365 Knit Too
무료Divine Hat
by Sarah Arnold