도안 목록으로 돌아가기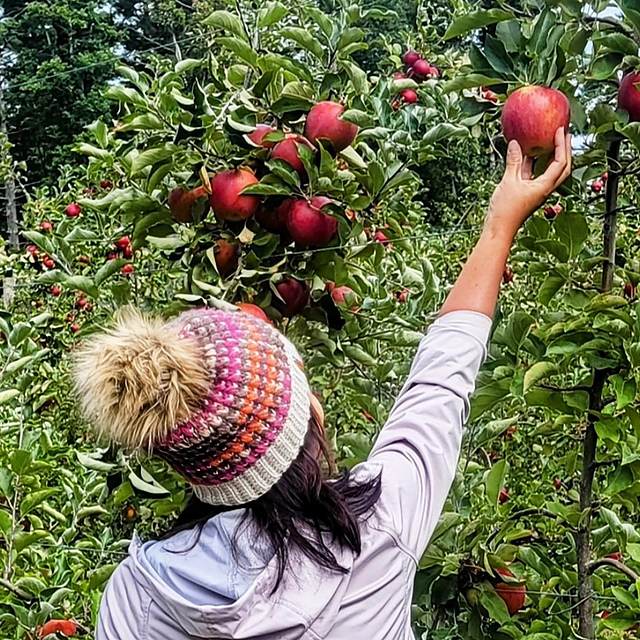

 무료
무료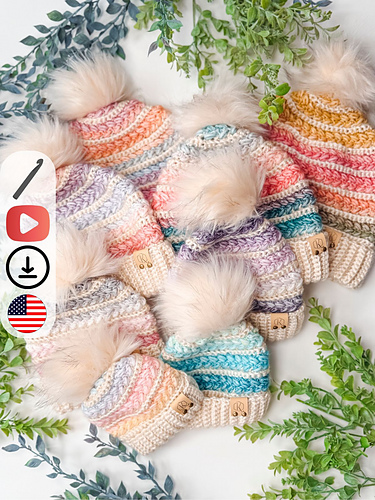 무료
무료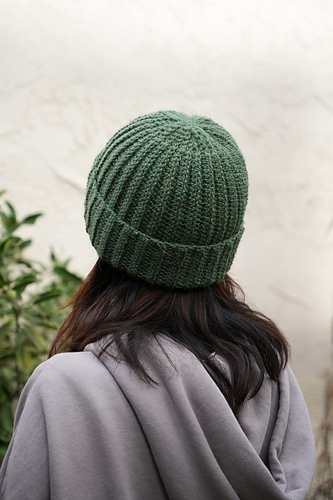
 무료
무료 무료
무료
 무료
무료
Hat유료 도안
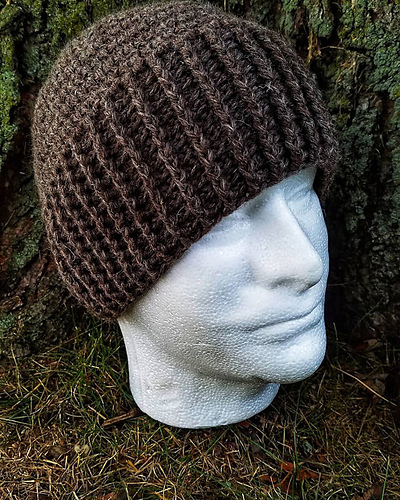
Frozen Berries Beanie
디자이너: Elisa DeSena
난이도0.0
바늘 크기
5.5mm
실 굵기굵은 실 (10~12합)
(Aran (8 wpi))
(Aran (8 wpi))
좋아요49
ADVERTISEMENT
도안 상세 설명 구글번역기로 번역하기
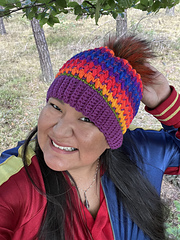
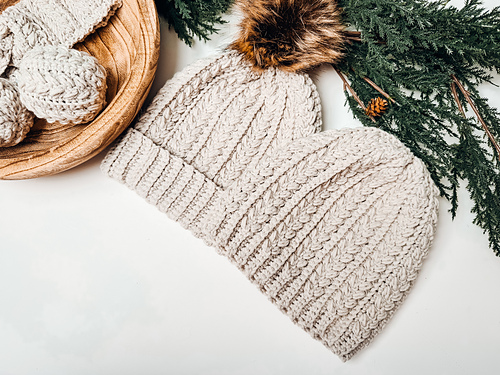
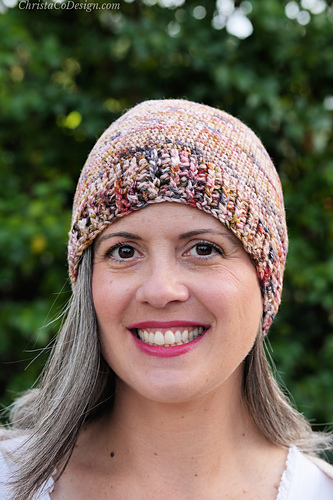
Beanie season (sweater weather) is around the corner! Are you ready for it? I’m thrilled to present my most recent design for the next season, the **FROZEN BERRIES BEANIE**! You will undoubtedly feel cozier and warmer with this accessory! It is a must-have piece for your fall and winter outfit.
Find the *FREE* pattern on the **[Clover-USA blog][1]**.
SKILL LEVEL: Intermediate
MATERIALS
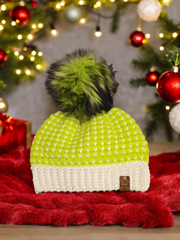
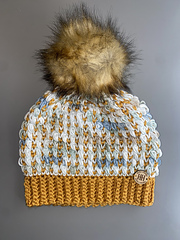
Any 1 or 2 Colors of Worsted Weight (#4) Yarn. (Color 1 – Off White, approx. 90 yards; Color 2 – Multicolored/Jacquard, approx. 160 yards)
Crochet Hook I/5.5 mm (or size to obtain gauge)
Scissors
Tape Measure
Tapestry Needle
Optional: Stitch Marker, Yarn or Faux Fur Pompom
GAUGE: 7 sts X 8 rows = 2 inches
FINISHED MEASUREMENT: Approx. 8.75” (height) x 20.5” (circumference) – unstretched. Fits most adults.
STITCHES AND ABBREVIATIONS | US Terminology
BLO – Back Loop Only
Ch(s) – Chain(s)
R – Row/Round
Rep – Repeat
RS – Right Side
SC – Single Crochet
Sk – Skip
Sl St(s) – Slip Stitch(es)
Sp(s) – Space(es)
St(s) – Stitch(es)
WS – Wrong Side
SPECIAL STITCHES
WC – Waistcoat (or Knit Stitch Crochet): Insert the hook in the center of the stitch, between the legs of the ‘V’ shape, yarn over and pull up a loop, yarn over again and pull through both loops on hook.
WC2Tog – Waistcoat 2 Stitches Together (decrease): This is worked over 3 stitches. Insert hook in the indicated st, yarn over and pull up a loop, sk the next st (ch-1-sp), insert hook in the next st, yarn over and pull up a loop, yarn over again and pull through all loops on hook.
PS – Puff Stitch (or 3 Half Double Crochet Cluster): (Yarn over, insert hook in the indicated st, yarn over again, pull up a loop to the height of the current row) three times, 7 loops on hook, yarn over and pull through all loops on hook.
NOTES
1. Read the pattern carefully before starting.
2. This pattern is worked from the bottom (band) up.
3. I recommend using stitch markers to mark the beginning st/sp of each round of the beanie. Remember to move the stitch marker as you progress.
4. The asterisk * indicates pattern repeats. You will need to repeat all the instructions between asterisks.
5. Total stitches are indicated at the end of each round.
6. To change the beanie's size, add or subtract 6 rows for the band or 6 stitches for the body pattern. Although the pattern calls for multiples of 2, I recommend using multiples of 6 stitches to match the crown's shaping. If you want your beanie to be slouchy, add a few more rows to the body of the beanie before continuing with the decreases or shaping of the crown.
Please don’t hesitate to reach out with questions regarding this pattern. I would love to see your Frozen Berries Beanie version! Please tag me on IG @stringsandcuddles and use these hashtags to share: #stringsandcuddles, #stringsandcuddlesdesigns, #frozenberriesbeanie
[1]: https://blog.clover-usa.com/2024/10/02/frozen-berries-beanie-crochet-pattern/
* 이 도안은 유료이므로 Ravelry에서 별도 구매가 필요합니다.
비슷한 느낌의 도안들
옆으로 밀어서 보기 →Melt the ICE (Crochet Version)
by ssward
무료Snowy Wheat Stitch™ Puff Crochet Hat
by Briana K Designs
무료Wheat Stitch™ Beanie
by Briana K Designs
No Extra Fabric Ribbed Beanie
by Viv Crochets
Pie Crust Hat
by Marisa Brison
무료Giulietta Hat
by Crystal Marin
무료Scrappy Beanie
by Maja Łojek
Oakling Hat
by Stitchsmith by Hannah
EASY Melt the ICE Hat
by Rachel Mendelowitz
무료The Lakeside Beanie
by Chellie Plummer