도안 목록으로 돌아가기
 🪄 도안 확인하기
 무료
무료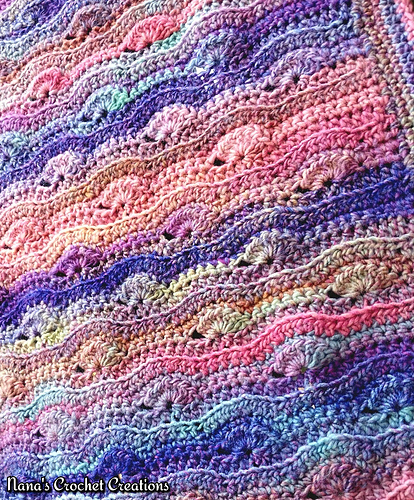
 무료
무료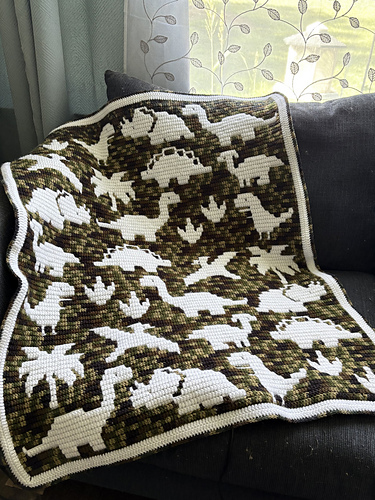
 무료
무료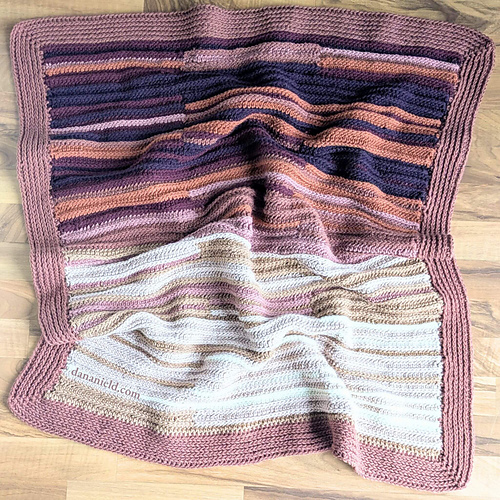 무료
무료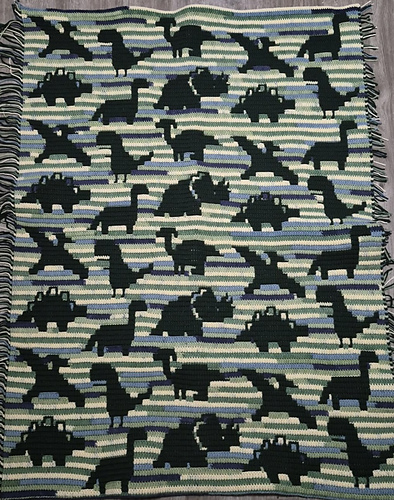
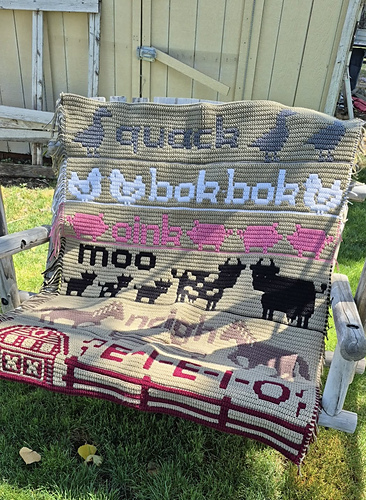
Blanket무료 도안
Peter
디자이너: Jessica McDowell
난이도1.9
바늘 크기
4mm
(7/0호)
실 굵기중간 가는 실 (5합)
(Sport (12 wpi))
(Sport (12 wpi))
좋아요1686
ADVERTISEMENT
도안 상세 설명 구글번역기로 번역하기
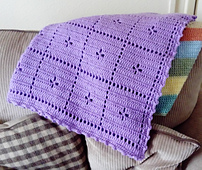
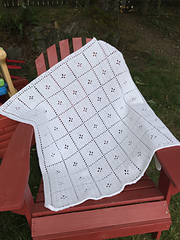
The traditional style and light blue color reminded me of artwork from "The Tale of Peter Rabbit".
The yarn used was Bernat Baby Sport in Pale Blue and was crochet with a G/6 hook. Between the blanket and my gauge swatch and nearly used every last inch of the yarn ball.
The finished size of the blanket using the suggested yarn and hook is approximately 31" x 36", but size can easily be adjusted by adding more repeats of the patter or using a thicker yarn and larger hook.
To work gauge swatch ch 27 and work in pattern instructions. My finished gauge swatch was 5" across and 5.25" tall.
**Pattern Instructions**
Ch 147
1. dc in 4th ch from hook and across, turn - 145 dc
2. ch 3 (counts as first dc here and throughout), *dc next dc, ch 1 skip next dc*, repeat across to last dc and top of ch 3, dc next dc and in top of ch from previous row, turn
3. ch 3, dc next dc, *ch 1 and skip next dc, dc 19x* repeat 7 times, ch1 skip next dc, dc next stitch and in top of ch 3 of previous row, turn
4. repeat row 3
5. repeat row 3
6. ch 3, dc next dc, *ch 1 and skip next dc, dc 9x, ch 2 and skip 1 dc, dc 9x* repeat 7 times, ch 1 skip next dc, dc next stitch and in top of ch 3 of previous row, turn
7. ch 3, dc next dc, *ch 1 and skip next dc, dc 7x, ch 2 and skip over 2 dc of previous row, sc in opening made by ch 2 of previous row, ch 2 and skip 2 dc, dc 7x* repeat 7 times, ch 1 skip next dc, dc next stitch and in top of ch 3 of previous row, turn
8. ch 3, dc next dc, *ch 1 and skip next dc, dc 7x, dc 2x in ch 2 of previous row, ch 1 and skip over sc of previous row, dc 2x in ch 2 of previous row, dc 7x* repeat 7 times, ch 1 skip next dc, dc next stitch and in top of ch 3 of previous row, turn
9. ch 3, dc next dc, *ch 1 and skip next dc, dc 9x, dc in ch 1 of previous row, dc 9x* repeat 7 times, ch 1 skip next dc, dc next stitch and in top of ch 3 of previous row, turn
10. repeat row 3
11. repeat row 3
12. repeat row 2
13. ch 3, dc in each dc and ch 1 space of previous row
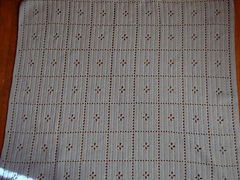
At this point you could tie off and weave in strings. The edges would look like my final photo. I worked a more finished edge as follows.
1. at the end of row 13 ch 1 and turn blanket so you can work down the side. Work 2 slip stitches into the side of each row and tie off once you reach the end of this side.
2. attach yarn and work 2 slip stitches in each row up the other side of the blanket, once you reach the end of this side turn blanket like you would at the end of a row
3. ch 1, start by working down the side that you just worked slip stitches work 1 sc in each stitch around the blanket and working 3 sc into corners, connect first and last sc of border with slip stitch, turn
4. slip stitch in each sc around blanket edge
* 버튼을 누르면 Ravelry 다운로드 페이지로 이동합니다.
(주의: 디자이너의 설정에 따라 무료 기간이 종료되어 유료로 전환되었을 수 있으니 이동 후 무료 여부를 꼭 확인하세요!)
비슷한 느낌의 도안들
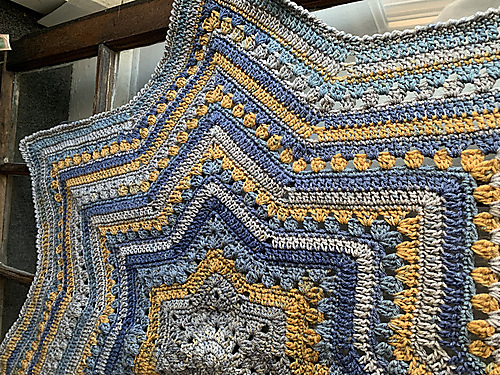
옆으로 밀어서 보기 →무료the Star Baby Blanket
by AamraGul
"Mini Cockleshells" Baby Blanket
by D Maunz
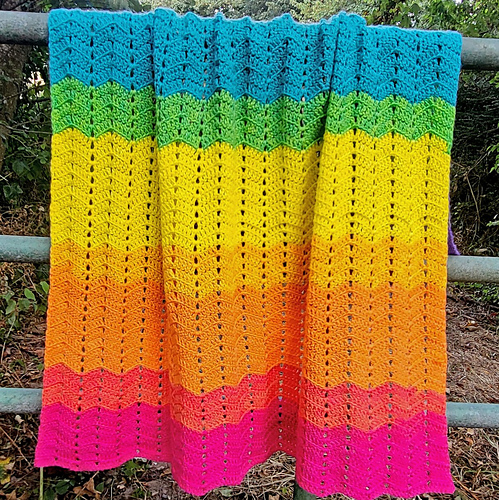
Dapple Ripple Baby Blanket
by Carmen Heffernan
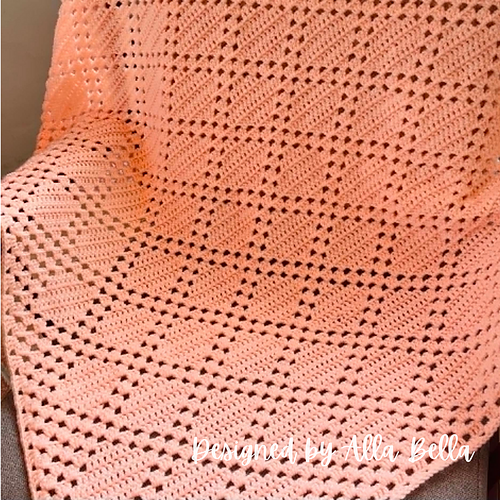
Granny Loves Little Diamonds Blanket
by Alla Bella
무료6-Day Star Blanket
by Betty McKnit
Tiny Dinosaurs
by Jamie Storer
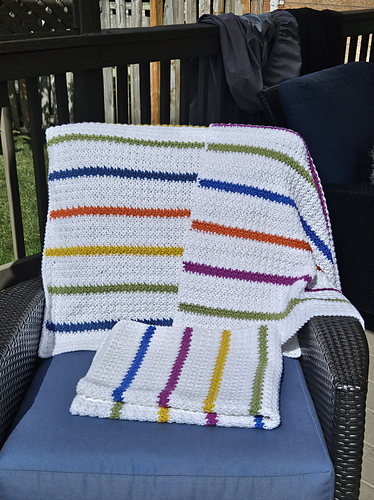
무료Sweet Stripes
by Anne Gagnon
무료Pregnancy Temperature Baby Blanket
by Dana Nield
Medium Dinosaurs
by Jamie Storer
Old MacDonald
by Jamie Storer